Hi Elementor beta testers,
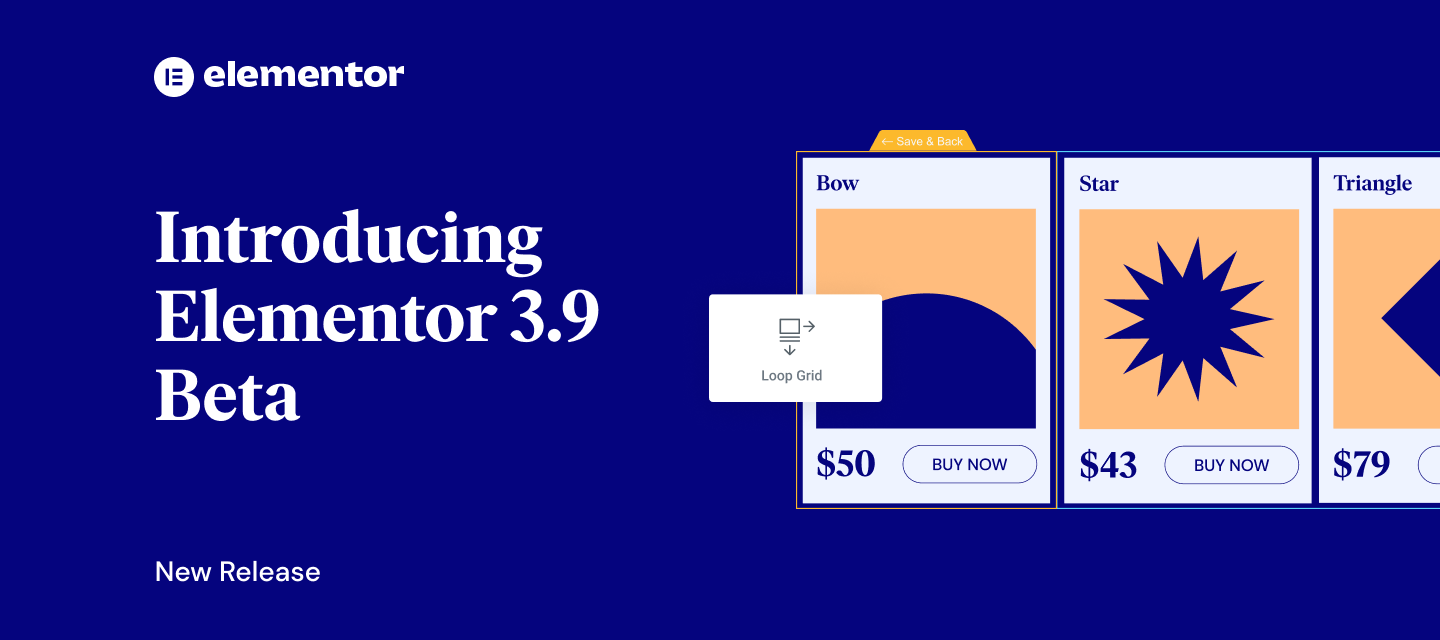
We are delighted to introduce our new beta versions of Elementor 3.9 that broaden the capabilities of the Loop Builder to include WooCommerce, improve your workflow and website’s performance.
Try out our new beta versions and let us know what you think about our newest additions, which include:
- [Pro] Loop Builder – Extended to support WooCommerce and Sections
- Save as Default – Create default settings for every element for better consistency
- [Pro] Enhanced Popup Advanced Rule – Show Popup X Times per Session / Day / Week / Month
- Performance Improvements
- Introducing Lazy Load experiment for background images
- Added support for “WebP Uploads” via the Performance Lab plugin, enabling convenient JPEG to WebP image conversion
- Resource Hints for Google Fonts
- Smaller CSS Assets
[Pro] New in the Loop Builder – Support WooCommerce and Sections
In Elementor 3.8 Pro, we released the first phase of the Loop Builder, that enables you to design your own template for repeating content on a page (i.e. loops) like listings, blogs, and more. Elementor 3.9 Pro broadens the capabilities of the Loop Builder, so you can use it for your WooCommerce websites.
With the Loop Builder’s support of WooCommerce, you can use any WooCommerce specific widget, or any Elementor widget, and assign dynamic WooCommerce tags to it, to populate dynamically. That way, you can design your Products page any way you’d like.
At this point, when creating a new Loop Item template from the WordPress template table view, you will be prompted to choose the query you would like to use to design the template – posts, or products. However, if you are designing the Loop Item template from the New Theme Builder UI, the default query will be Posts. You can update the query to products at any time in the Loop Item’s settings by clicking the cogwheel.
As part of this update, you will also be able to use sections and columns as the layout structure of your Loops, that way you don’t necessarily need to use Containers to build a loop template. If you do have the Container experiment activated, the Loop Builder will automatically be built with Containers, otherwise – it will be built using sections.
How to Test It:
Create an In-place loop, directly on the page
- Create a new page, edit it with Elementor and drag in the Loop Grid widget.
- Change the “Choose template type” to Products
- Click on the Create Template button in the panel or in the Editor’s edit mode.
- Drag and Drop any WooCommerce specific widgets or other dynamic (and static) widgets into the template area.
- Once the main item design is ready, click on the “Save & Back” yellow handle.
- Ensure the other products in the loop are populated automatically based on the main template design.
- Go over the layout controls and change the Columns, Items Per Page and switch on Masonry.
- Check the Query section and make sure all the controls and all product related query options work as expected.
- Make sure everything works as expected in the Editor and on the Frontend
Create a loop item from the Theme Builder
- Go to the Theme Builder, and create a new loop item template by clicking on the “Add New” Button
- Drag and Drop any WooCommerce specific widgets or other dynamic (and static) widgets into the template area.
- Once the main item design is ready, click on Publish.
- Create a new page, edit it with Elementor and drag in the Loop Grid widget
- Change the “Choose template type” to Products
- Select the new template under the “Choose a template” option.
- Ensure the loop is presented correctly in the edit mode, and that the other products in the loop are populated automatically based on the main template’s design.
- Make sure everything works as expected in the Editor and on the Frontend
Introducing: Save as Default – Create your Own Default Settings for Elements
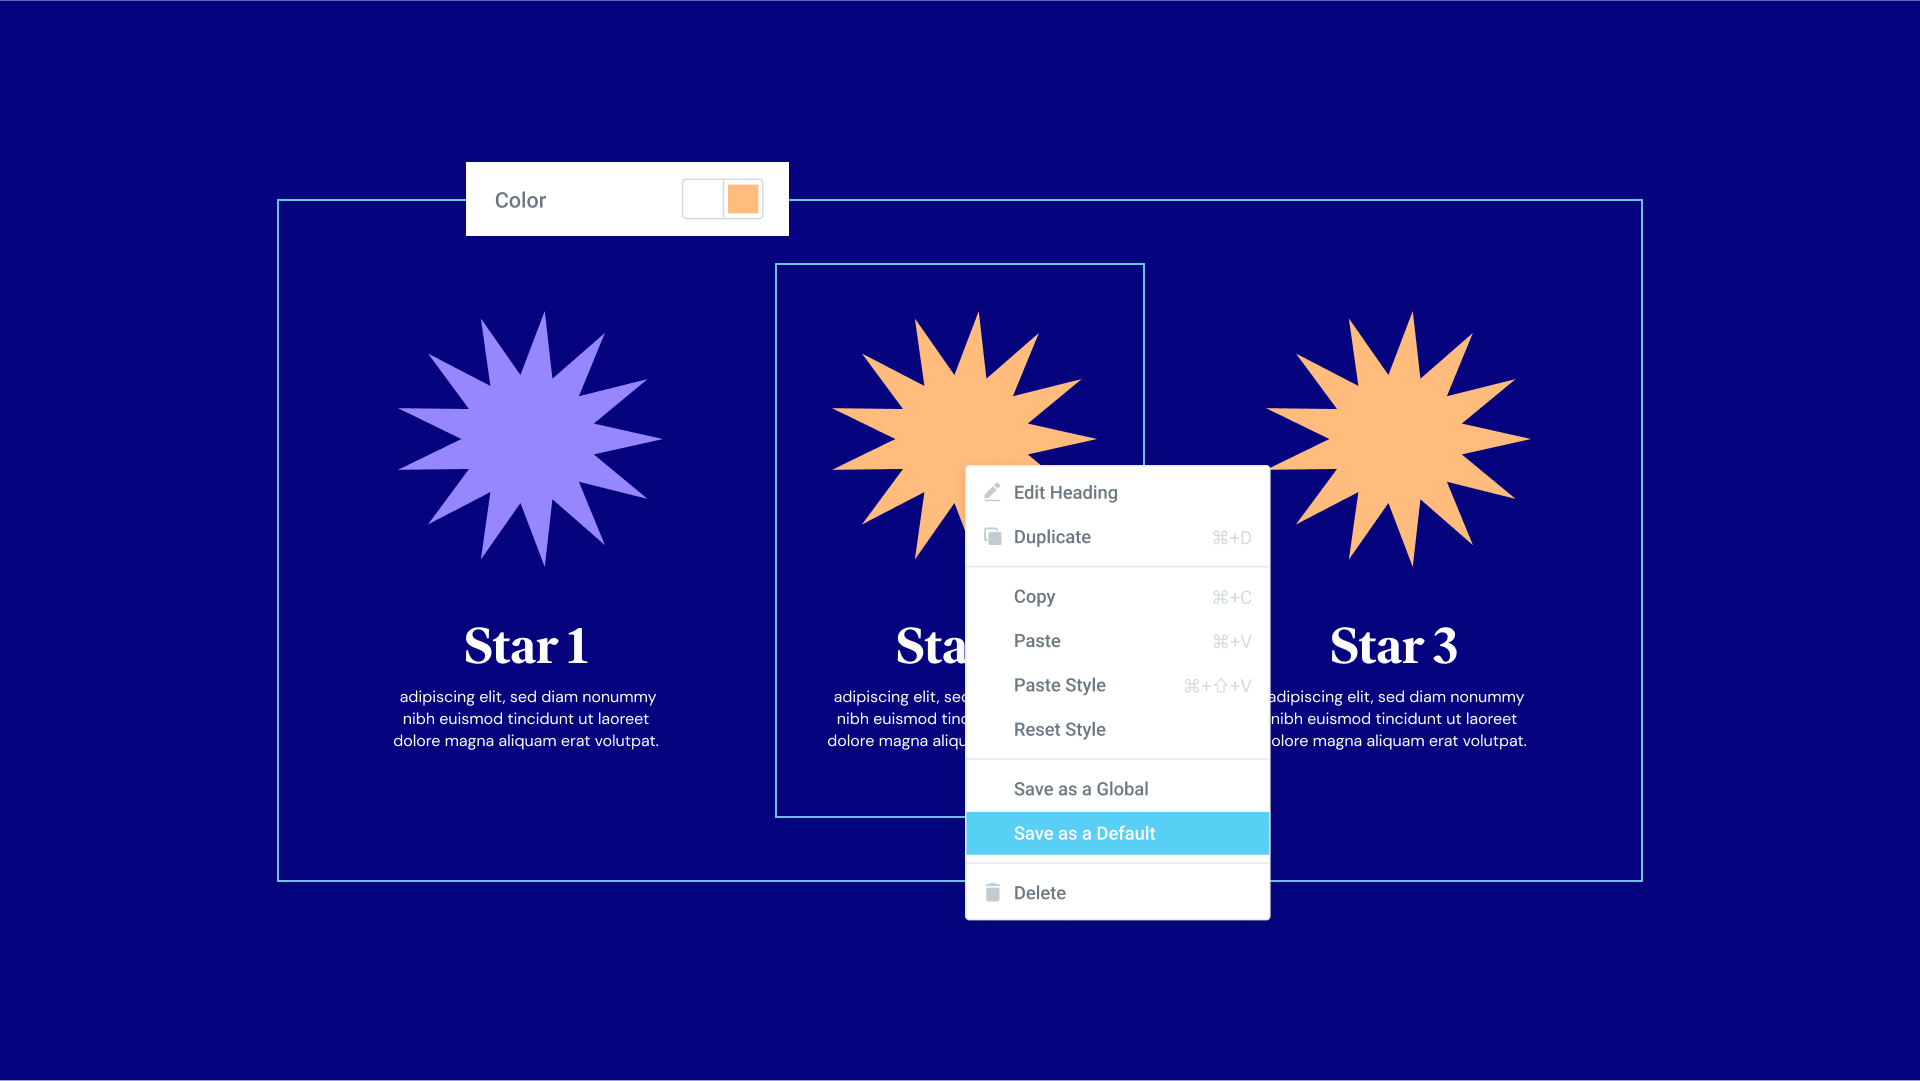
Every Elementor element receives default styling and advanced settings, as initially configured by Elementor, which includes placeholders for text, images, or icons, as well as default colors, styles and additional settings. Each time you drag an element to the Editor from the widget panel, it will appear with its initial settings. Meaning – if we take the Button widget as an example, everytime you drag it to the Editor from the widget panel, the background will adopt the Accent color set up in your Global Colors, the text color will be white, etc.
With this update, you will be able to adjust and save all the default styling and settings for all elements, the new default settings will also carry over to any kit or template you import / export. For example, you can set a new default color for the Button background, adjust the typography, associate it with a different Global Color or font – like the Primary color instead of the Accent one, etc.
This feature will be introduced as an experiment, allowing you to decide whether this is a feature you would like to add to your website or not. It is also important to note, that once you update the default options for a widget using this feature, this cannot be undone. To make any changes or revert it back to its original state, you will have to make the relevant changes manually, and save it as a new default, and as such will only be available to Admin level users.
As you save a new default for your elements, it is important to pay special attention to what details are being saved to ensure you don’t include any sensitive information. For example, if you save the email address to your PayPal account as part of the new default settings of the PayPal widget – that will be saved and visible to anyone editing your website in Elementor. The same applies for any information, including CSS ID, API Keys and so on. Therefore, it is recommended that you save your new default before adding any sensitive information.
Below are three examples of how you can use the new Save as Default feature:
- Update the colors or fonts of a widget, to be associated with a different global color or font – such as the Primary or Secondary color and font instead of Accent. (This is also our recommended way to update widgets going forward, that way – if you want to make any changes to all widgets simultaneously in the future, all you have to do is update the global colors or fonts).
- Update the default padding, and margins of a widget, like a button.
- Include a logo, image or specific instructions as an image placeholder for image widgets, or text placeholders for textual widgets. That way, you can continuously promote your business as a web creator to your clients, and assist them as they make website updates.
How to Test it:
- Ensure you activate the “Save as Default” experiment by going to the Elementor menu in WordPress → Settings → Experiments.
- Create a new page and drag any widget into the edit area.
- Change the widget styles, such as background color and text font.
- Use custom colors or assign global colors and fonts.
- Right-click on the widget and open the Context Menu, then click on the “Save as Default” option
- Drag the selected widget again to the edit area, and check if the new styles are applied.
- Ensure that existing widgets that have previously been used on your website don’t change based on the new default settings.
- Try the above steps with various widgets.
- Make sure everything works as expected in the Editor and on the Frontend.
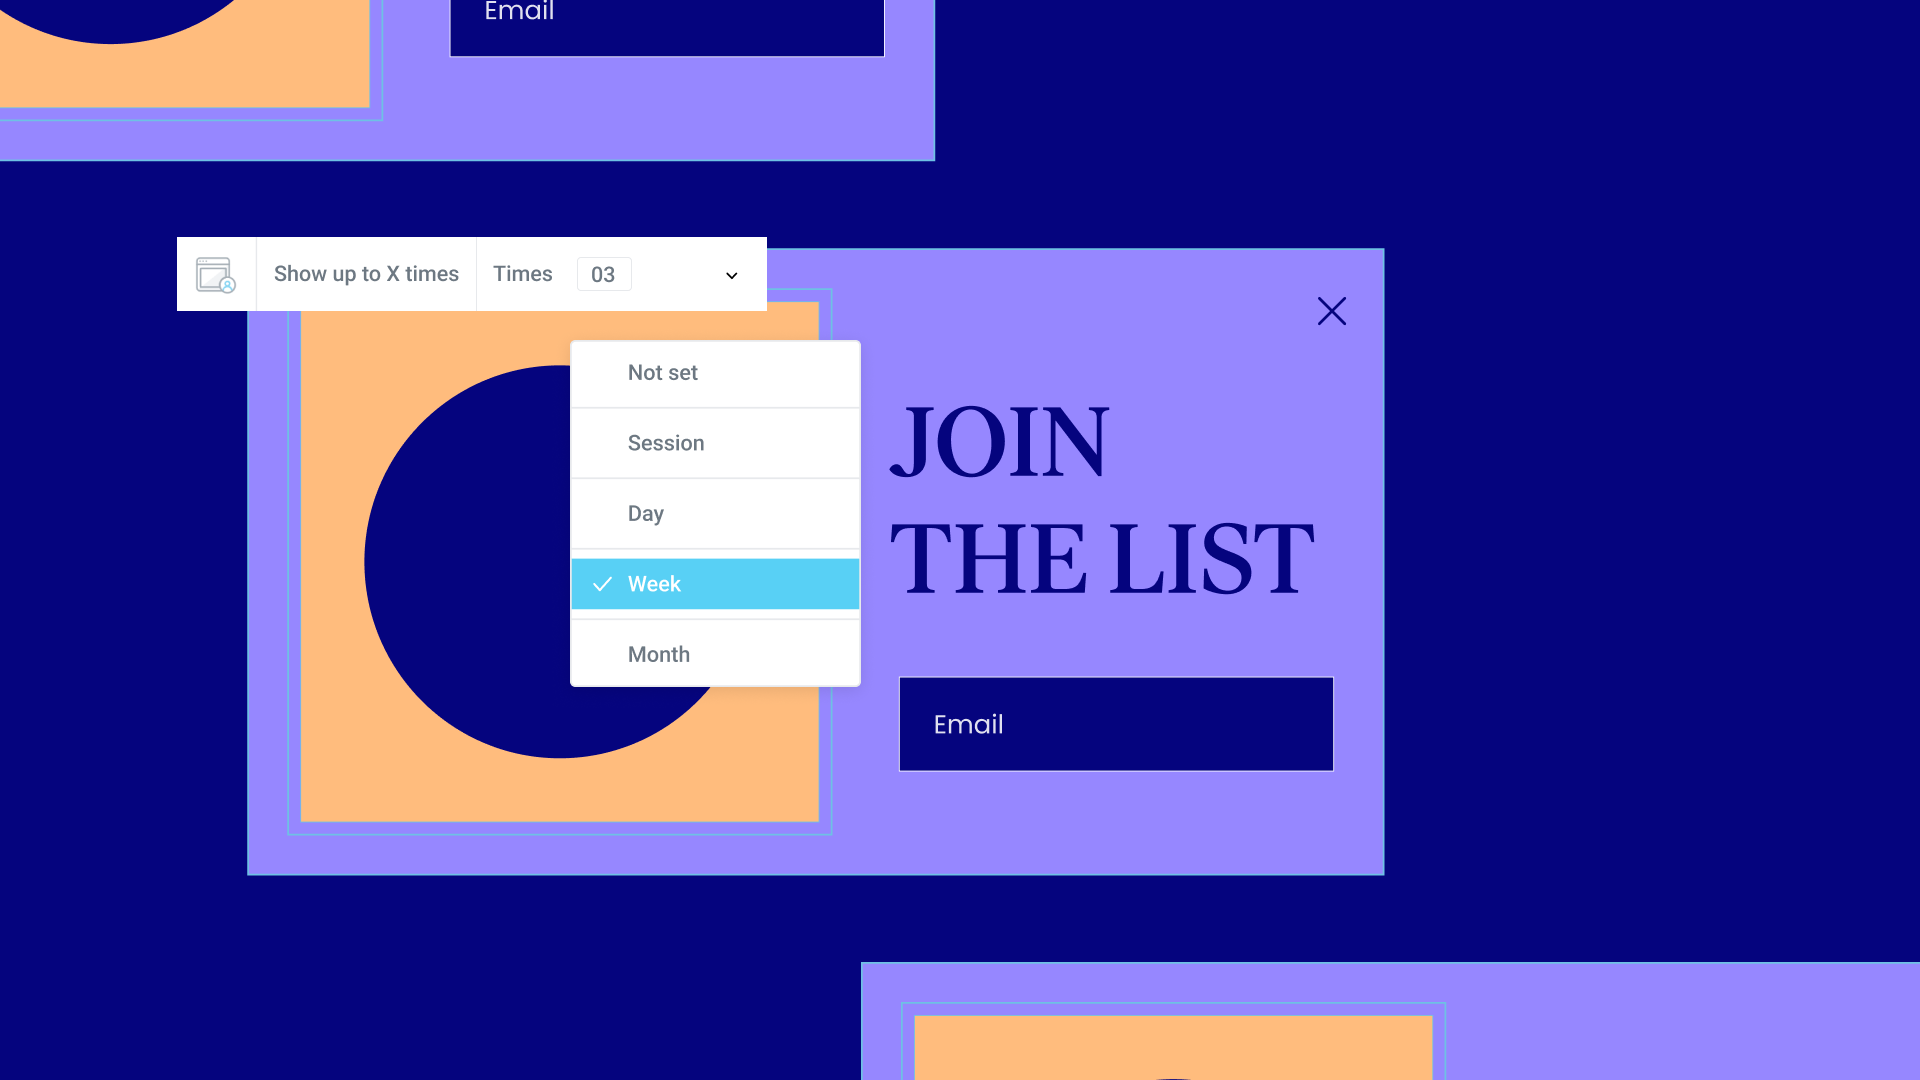
[Pro] Enhanced Popup Advanced Rule: Show Popup X Times per Session / Day / Week / Month

Elementor’s popup builder enables you to design popups for your website and determine when, and where you want to trigger the popup to website visitors. Up until now, as part of the advanced rules, you were able to set a rule that will trigger the popup X amount of times, but this rule was not time delimited.
With this update, you can set a predetermined number of times within a specific duration in which you want the popup to appear per session, day, week or month – according to your preference.
Performance Improvements
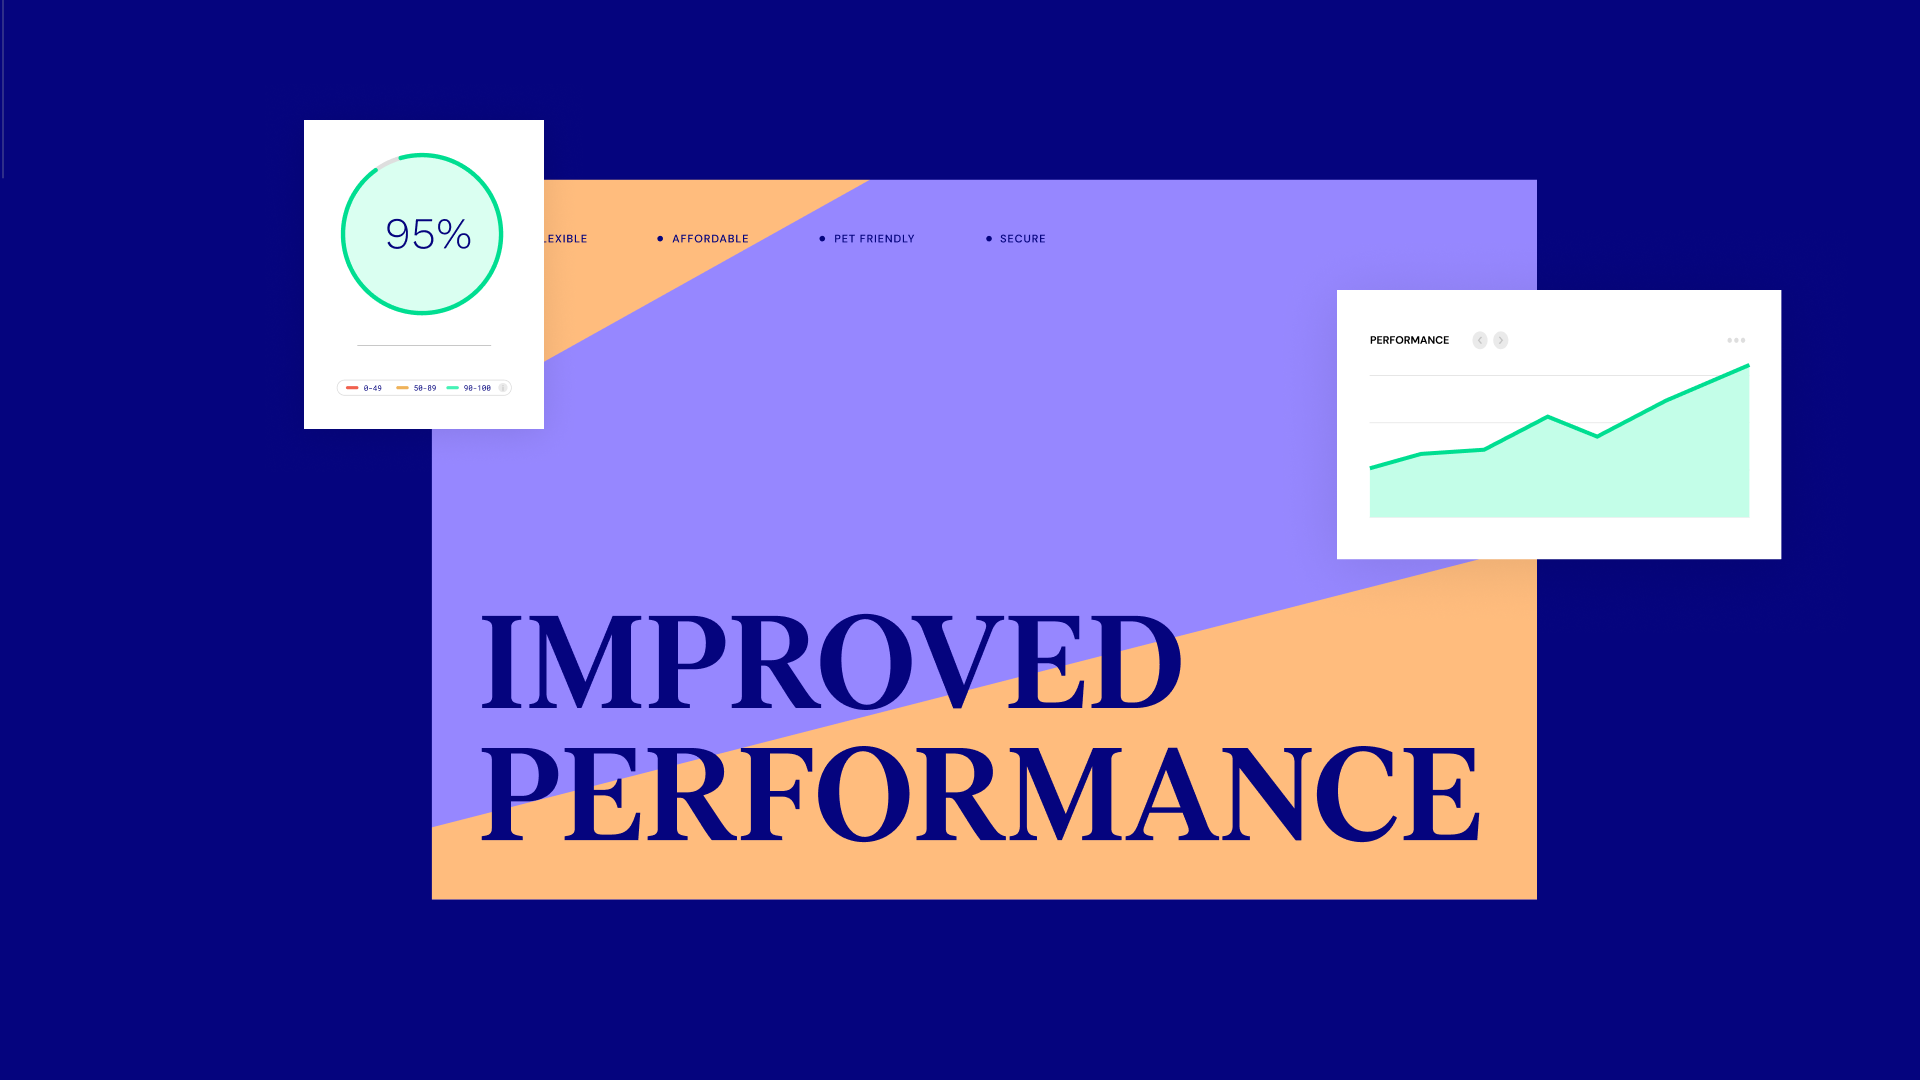
Elementor continuously looks for ways in which it can improve the performance of your website, and has even recently partnered with Chrome to identify areas of opportunity together. Elementor utilized Google tools including the Chrome User Experience Report and Core Web Vitals Technology Report, while receiving technical consultation from a Chrome expert. Elementor 3.9 introduces one such performance improvement that can have a significant impact on the performance of your website.
Background Images Lazy Load Alpha Experiment
Background images are an integral part of designing your website, but they can have a negative impact on performance and the score of Largest Contentful Paint (LCP). Optimizing your website’s performance and LCP score is important to optimize your visitors’ experience when visiting your site, as well as improving your discoverability in search engine results.
By adding Lazy Load to background images, you can improve your website’s performance and LCP score, without compromising on your website’s appearance.
Activating this experiment will apply lazy load to all background images below the fold, in the following areas:
- Section – section background, and section background overlay
- Column – column background
- Container – container background and Container background overlay
- Generic widget background – accessed from the Advanced tab.
That way, you can choose how you want your background images to load. Applying lazy load to background images can significantly improve the score of Largest Contentful Paint (LCP).
How to Test It:
- Activate the ‘Lazy Load Background Images’ experiment by going to Elementor menu in WordPress → Settings → Experiments
- Create a new section / container, or drag any widget with a background image, to the Editor
- Confirm that everything works as expected in the frontend
Elementor now Compatible with the Performance Lab for “WebP Uploads”
When activating the Performance Lab plugin, JPEGs will automatically be converted to WebP images. In cases in which the Performance Lab plugin is unable to successfully change the format to WebP, the website will show the default JPEG. Additionally, only JPEG images that are uploaded after activating the Performance Lab plugin will convert to WebP format, all images uploaded before then will maintain their JPEG format.
Resource Hints for Google Fonts
By using rel=”preconnect” you get the font delivered sooner, as your website loads. This leads to an improvement in lighthouse performance score and performance.
Smaller CSS Assets
With this update, we made changes to the way we generate our minified CSS from our SASS files. With extra tweaks we managed to reduce the total size of all the CSS assets from 5.3MB to 4.6MB, which is a ~13% reduction. CSS assets in Elementor Pro reduced by ~10%, from 7.3MB to 6.6MB.
Expanding Existing Features
- Tweak: Added new controls for:
- Margin control added to Post and Page Settings
- Background color option added to the video background control
- Privacy-mode option added to Vimeo embed background and Video widget
- Tweak: Added new responsive controls for:
- Border radius in Button widget
- Icon border-radius in the Icon and Social Icons widgets
- Image border-radius in the Image Carousel, Basic Gallery and Testimonial widgets
- Caption to Image, Image Gallery, and Image Carousel widgets
- Opacity of background overlay image in Sections and Containers
- Tweak: Added new units to various widgets for consistency:
- Added
emunits to border-radius control in various elements - Added
px,em,%units to border-width control in various elements
- Added
Make An Impact: Share Feedback Before Features Are Released
We’re always looking to get to know Elementor customers on a deeper level. If you’re interested in meeting with our team and sharing your insights, feedback, and feature requests you’re welcome to sign up for some quality time with us here. Or download Elementor’s Dev Edition. Talk soon!
How to Install the Beta Version
If you still haven’t enabled beta testing in Elementor, please follow these steps:
- Go to Elementor > Tools > Versions
- Enable the beta tester feature
- Go to Dashboard > Updates and update to the latest beta version.
- This will get you set up to test the new Elementor 3.9 Beta.
Notes
As we make changes to our GitHub in an effort to keep it organized, improve the way we deliver information to you, and our ability to review your feedback, please follow the instructions below when reporting bugs, or making feature requests:
- To report a bug related to this beta version – open a new Bug report
- For feature requests – open a new Feature request issue
- For other comments specifically about this beta version – comment here
Designated time for release: December 6, 2022 (Estimated)
Many thanks for your support and help!
Cheers,
Elementor Team
