Hey Beta testers,
Elementor 3.22 beta is now available, and we would love to hear your feedback on the new Off-Canvas Widget. You can now place a Container anywhere on your page and open or close it by clicking on a connected link. This version also includes some drastic performance improvements that will reduce memory usage from 3MB to 8KB, and the Time To First Byte (TTFB) metric improves by 33%-70%.
We encourage you to try out 3.22 beta and provide us with your thoughts on our latest additions, which include:
- [Pro] Off-Canvas Widget
- Element Caching
- And More!
[Pro] New: Off-Canvas Widget Interactive Layouts

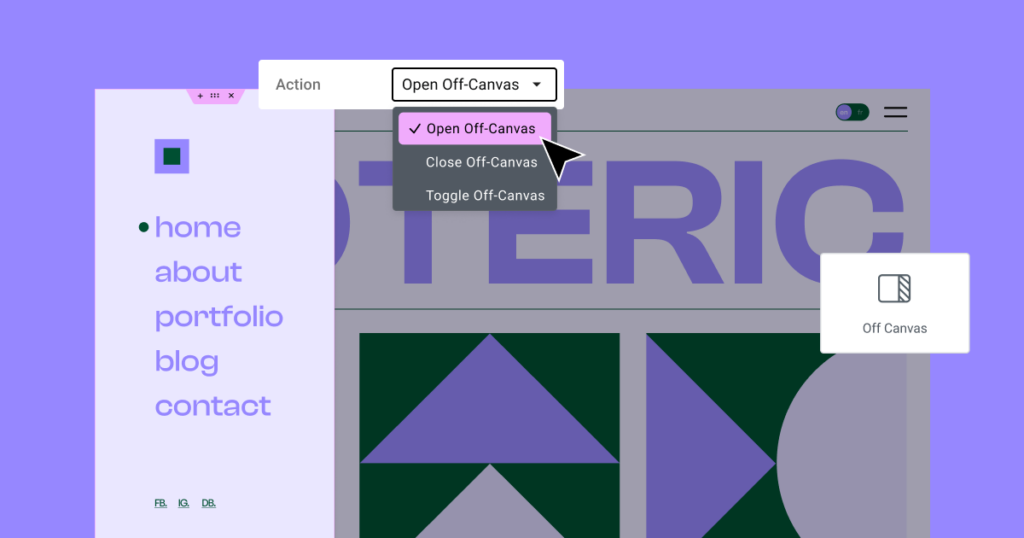
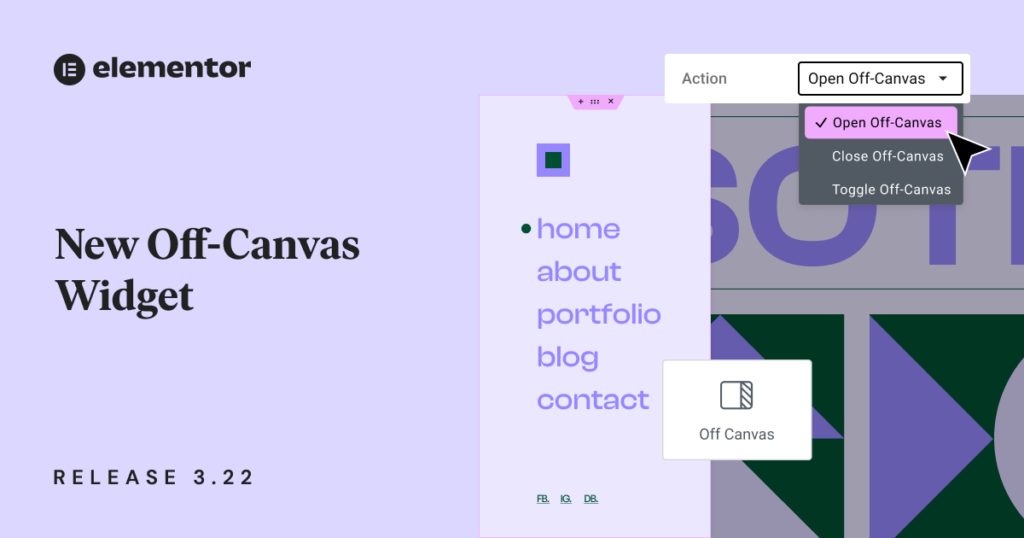
The Off-Canvas Widget allows creators to design interactive page layouts and engaging user experiences with containers that are opened by clicking on a connected link. To use the Off-Canvas Widget, place it anywhere on your page, and click the “Editing Mode” control in the Editing Panel to open and close it in the Editor. As a new addition to nested elements, its content area functions as a Container, allowing you to build and design any layout.
Once you’ve positioned your Off-Canvas Widget, connect it to a link input from a different widget much like setting a dynamic tag. If you have multiple Off-Canvas Widgets on the page, they will appear as “Off-Canvas Widget 1” or “Off-Canvas Widget 2,” etc according to their position on the page. Then choose whether you’d like the link to trigger the open, close, or both behaviors. Note that the link connected to the Off-Canvas Widget must be on the same page or site part as the Widget itself. For instance, if you want to activate the widget from a link in the header, the widget must also be placed in the header.
The new widget also includes built-in professional design capabilities to help you stay on brand. In the editing panel under Content > Settings, you can personalize the widget’s entrance and exit animations style and duration. You also have controls to dictate the interaction’s behavior, such as setting when and how to exit the overlay, preventing page scrolling. Additionally, you can define the Container’s HTML tag. In the Style tab, you can customize the Off Canvas Widget’s appearance as you would with any other Container.
To activate the new feature, activate “Nested Elements” by going to WordPress Dashboard → Elementor → Features.
How to Test it:
Create Off-Canvas Widget
- Ensure the “Flexbox Container” and “Nested Elements” features are activated by navigating to the Elementor menu in WordPress → Settings → Features.
- Create a new page and add the Off-Canvas widget to the Editor.
- Ensure the off-canvas container area opens automatically.
- Add widgets to the off-canvas and design the layout to fit your needs.
- Explore the Layout options to adjust the off-canvas’s position, width, and height.
- In the Settings section, add Animation and configure the Interaction options.
- Navigate to the Style tab to style the main container and the overlay.
Trigger the Off-Canvas to Open by Clicking
- After creating at least one off-canvas on the same document (Page, Header, etc.), drag a heading to the page (or any widget with a dynamic link control).
- Click on the Dynamic Tags icon in the link control.
- In the Dynamic Tags popover, scroll down to the Actions section and choose “Off-Canvas.”
- After choosing the dynamic tag, click on the wrench icon.
- Choose the desired action in the settings: Open, Close, or Toggle.
- Select the Off-Canvas you want to trigger.
- Ensure the Off-Canvas is triggered by the link in both the Editor and the front end, and verify everything works as expected.
Performance Improvements

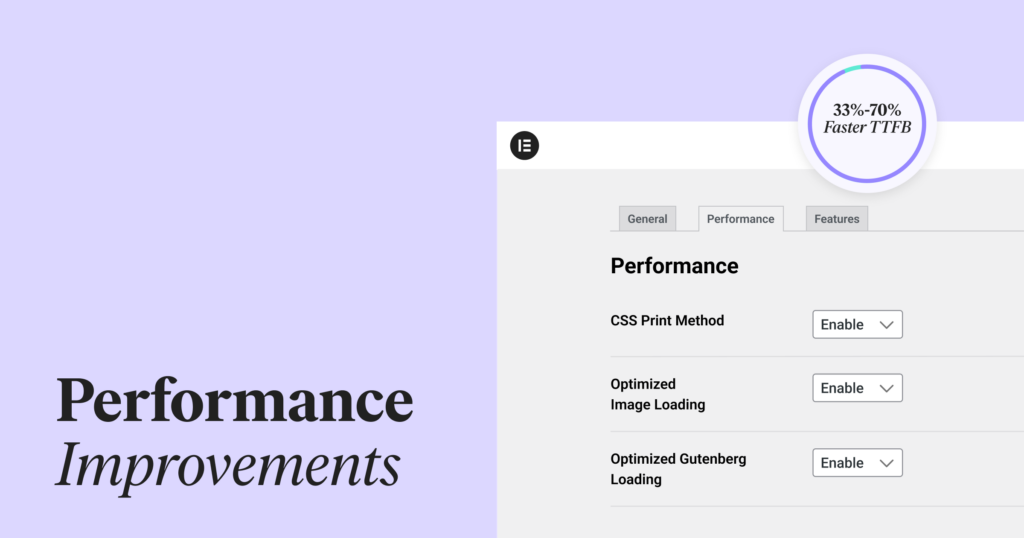
Version 3.22 includes major performance improvements that will skyrocket your Google lighthouse scores and drastically cut loading time. We also added a new Performance Tab to WordPress Dashboard > Elementor > Settings so you can easily access and activate stable performance features.
Element Caching
Elementor 3.22 introduces a new caching feature for Elementor and Elementor Pro widgets. Internal performance tests show dramatic differences when comparing the same website with and without the new caching feature; memory usage decreases from 3MB to 8KB, and the Time To First Byte (TTFB) metric improves by 33%-70%.
This is achieved by storing the widget’s output on servers after they are fully rendered for the first time. This allows subsequent visitors to load them without needing to fully render the widget code again. To avoid caching unnecessary data, the feature distinguishes between static and dynamic widgets, excluding dynamic content with visitor-specific information from being cached. You can also change the default setting of a specific widget by activating or deactivating the “Cache Settings” control added to the Advanced Tab in your Editing Panel. Note that the Cache Setting can’t be changed for the following widgets: Container, Section, Column, Inner Section, and Off-canvas.
To activate the new feature, activate “Element Caching” by going to WordPress Dashboard → Elementor → Features.
Replacing JS libraries with native JS
This version continues the effort to clean up your website’s code by replacing external JavaScript libraries with native JS-based solutions that achieve the same results with less code. The first library that has been replaced is `waypoint.js`, which executes JavaScript functions related to user scrolling. Replacing this JavaScript library reduces unused JavaScript by 18KB, improving frontend performance and SEO scores.
To maintain backward compatibility with third-party addons, the library will remain on Elementor for the coming releases, but will only be activated if Elementor addon developers set it as a dependency.
New Performance Tab
As more performance improvements mature into stable features, there has been a growing need to concentrate them all in one spot for easy access. In version 3.22 onwards, all stable performance features can be activated or deactivated from the new Performance Tab, which can be found in WordPress Dashboard > Elementor > Settings > Performance. We recommend exploring these features and activating the ones relevant to your website to help improve your website’s performance.
How to Install the Beta Version
If you still haven’t enabled beta testing in Elementor, please follow these steps:
- Go to Elementor > Tools > Versions
- Enable the beta tester feature
- Go to Dashboard > Updates and update to the latest beta version.
- This will get you set up to test the new Elementor 3.22 Beta.
Notes
As we make changes to our GitHub in an effort to keep it organized, improve the way we deliver information to you, and our ability to review your feedback, please follow the instructions below when reporting bugs, or making feature requests:
- To report a bug related to this beta version – open a new Bug report
- For feature requests – open a new Feature request issue
- For other comments specifically about this beta version – comment here
Designated time for release: June 9th (Estimated)
Many thanks for your support and help!
Cheers,
Elementor Team
