Hey Beta testers,
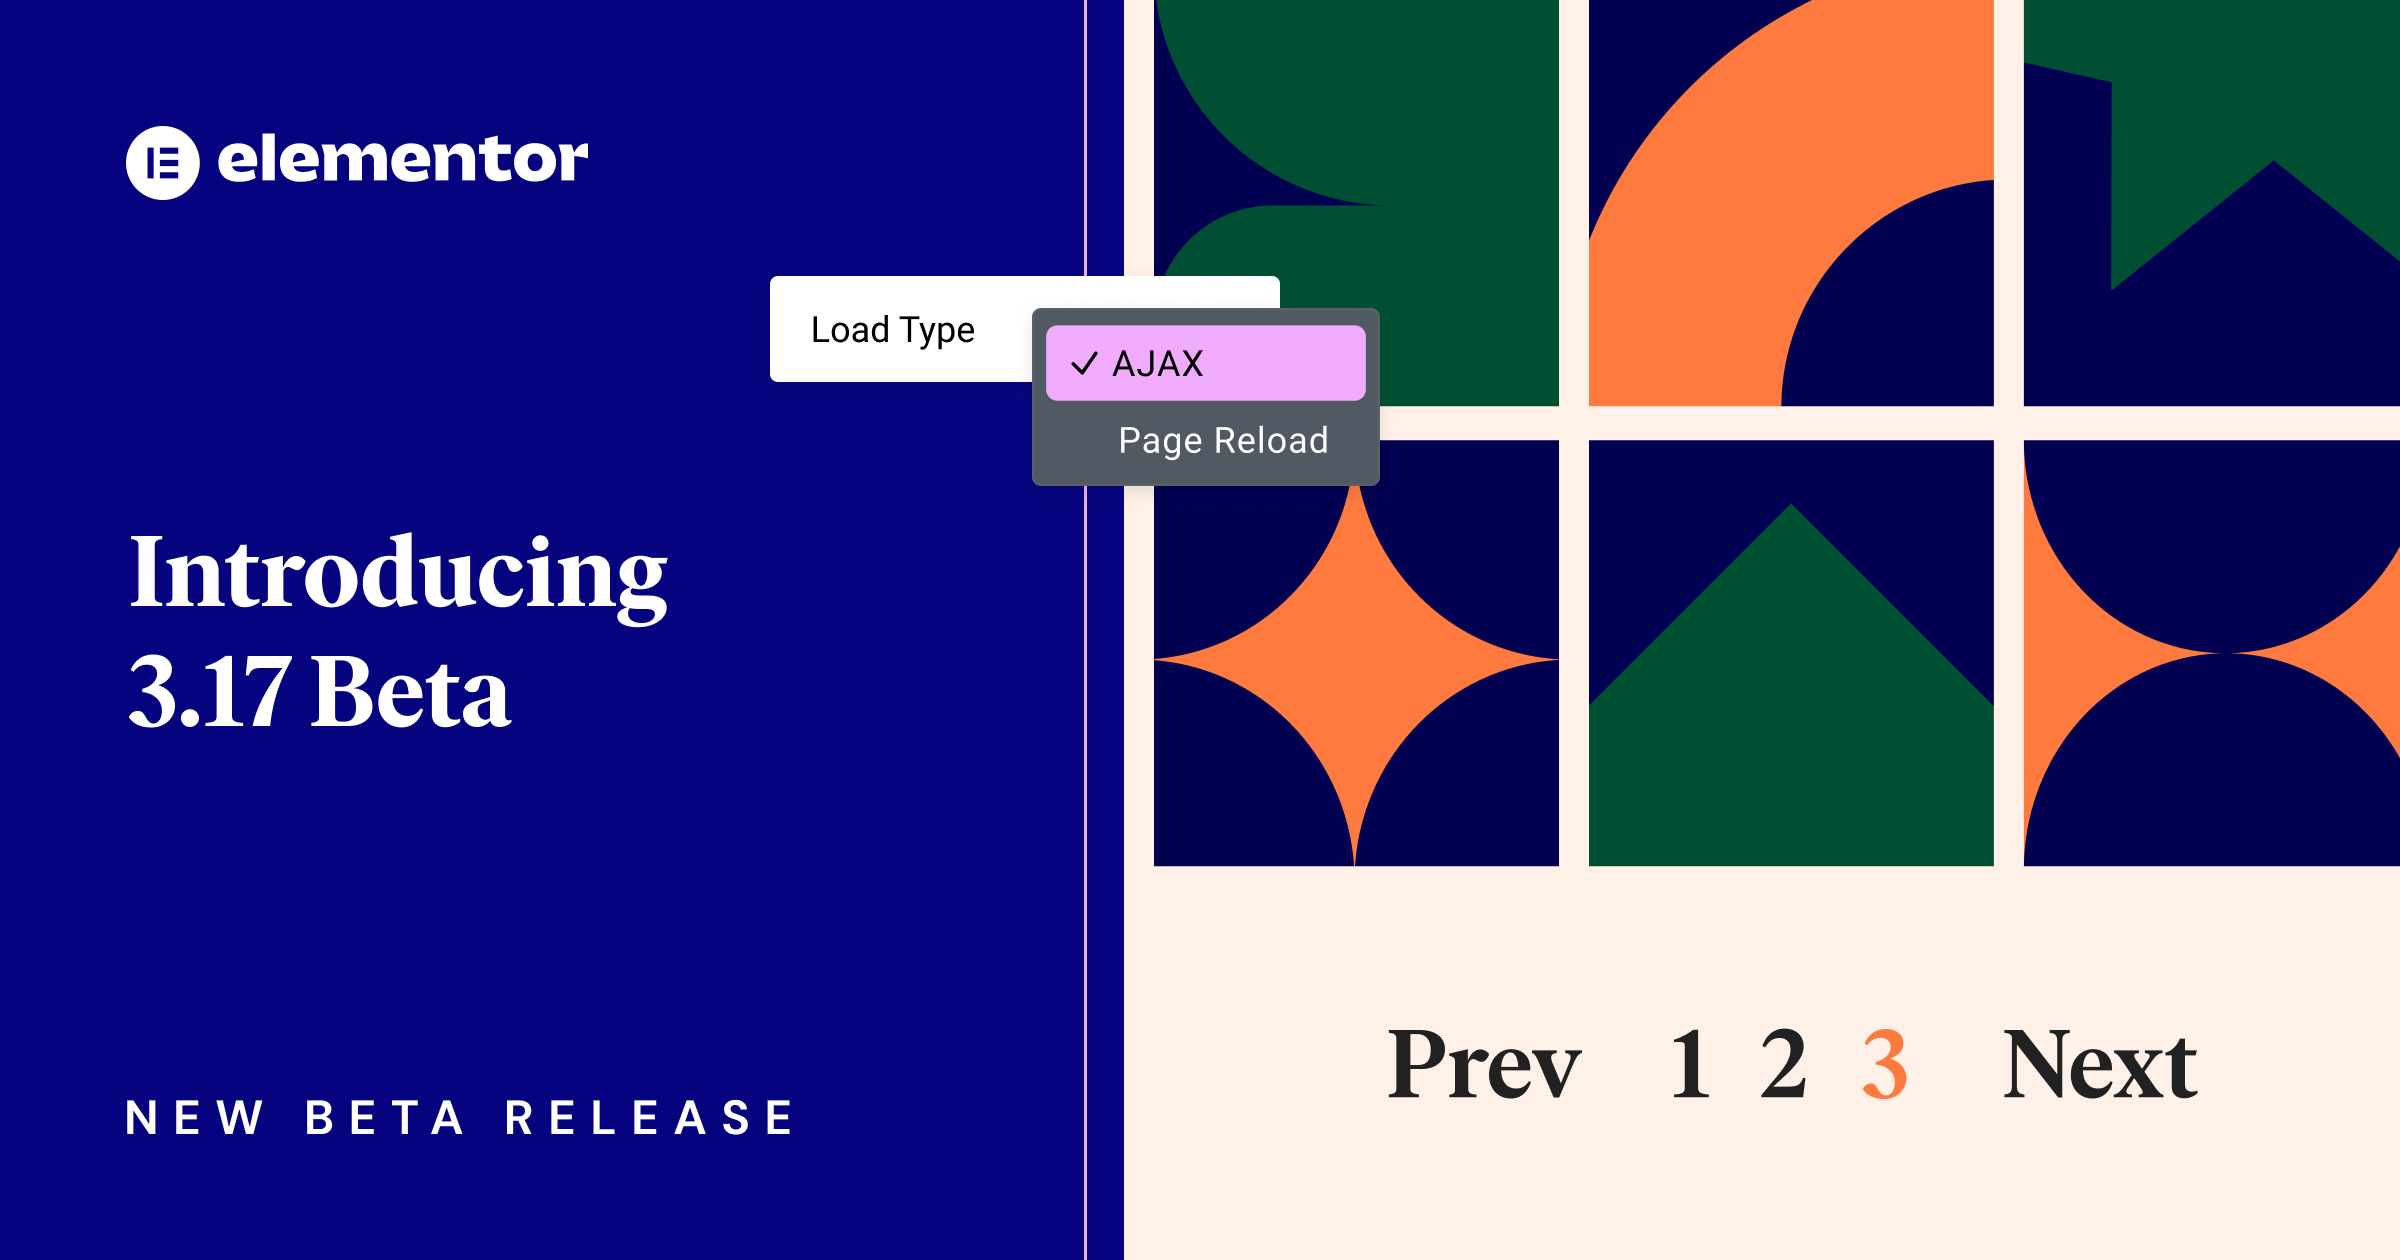
The beta version of Elementor 3.17 is now available, and we’re eager to hear your feedback on the new features. The anticipated AJAX Loading feature is now available for Loop Grids, which enables visitors to load loop content quickly and efficiently without the need to reload the entire page.
Additionally, Elementor AI now has a history panel, so you can access prompts and content used in the past. This version also includes performance enhancement experiments, a new Rating Widget and improvements to the Accordion Widget.
We encourage you to try out this beta version and provide us with your thoughts on our latest additions, which include:
- [PRO] AJAX Loading for Loop Grids (4th most requested)
- [Elementor AI] AI History
- Performance Enhancements
- New Rating Widget and More!
[PRO] Introducing AJAX for Loop Grids – For Seamless Content Loading
We are excited to introduce the fourth most requested feature on GitHub: AJAX loading for Loop Grids. AJAX, short for Asynchronous JavaScript and XML, allows visitors to load new content into a page without having to reload the entire page.
AJAX Loop Grid Pagination
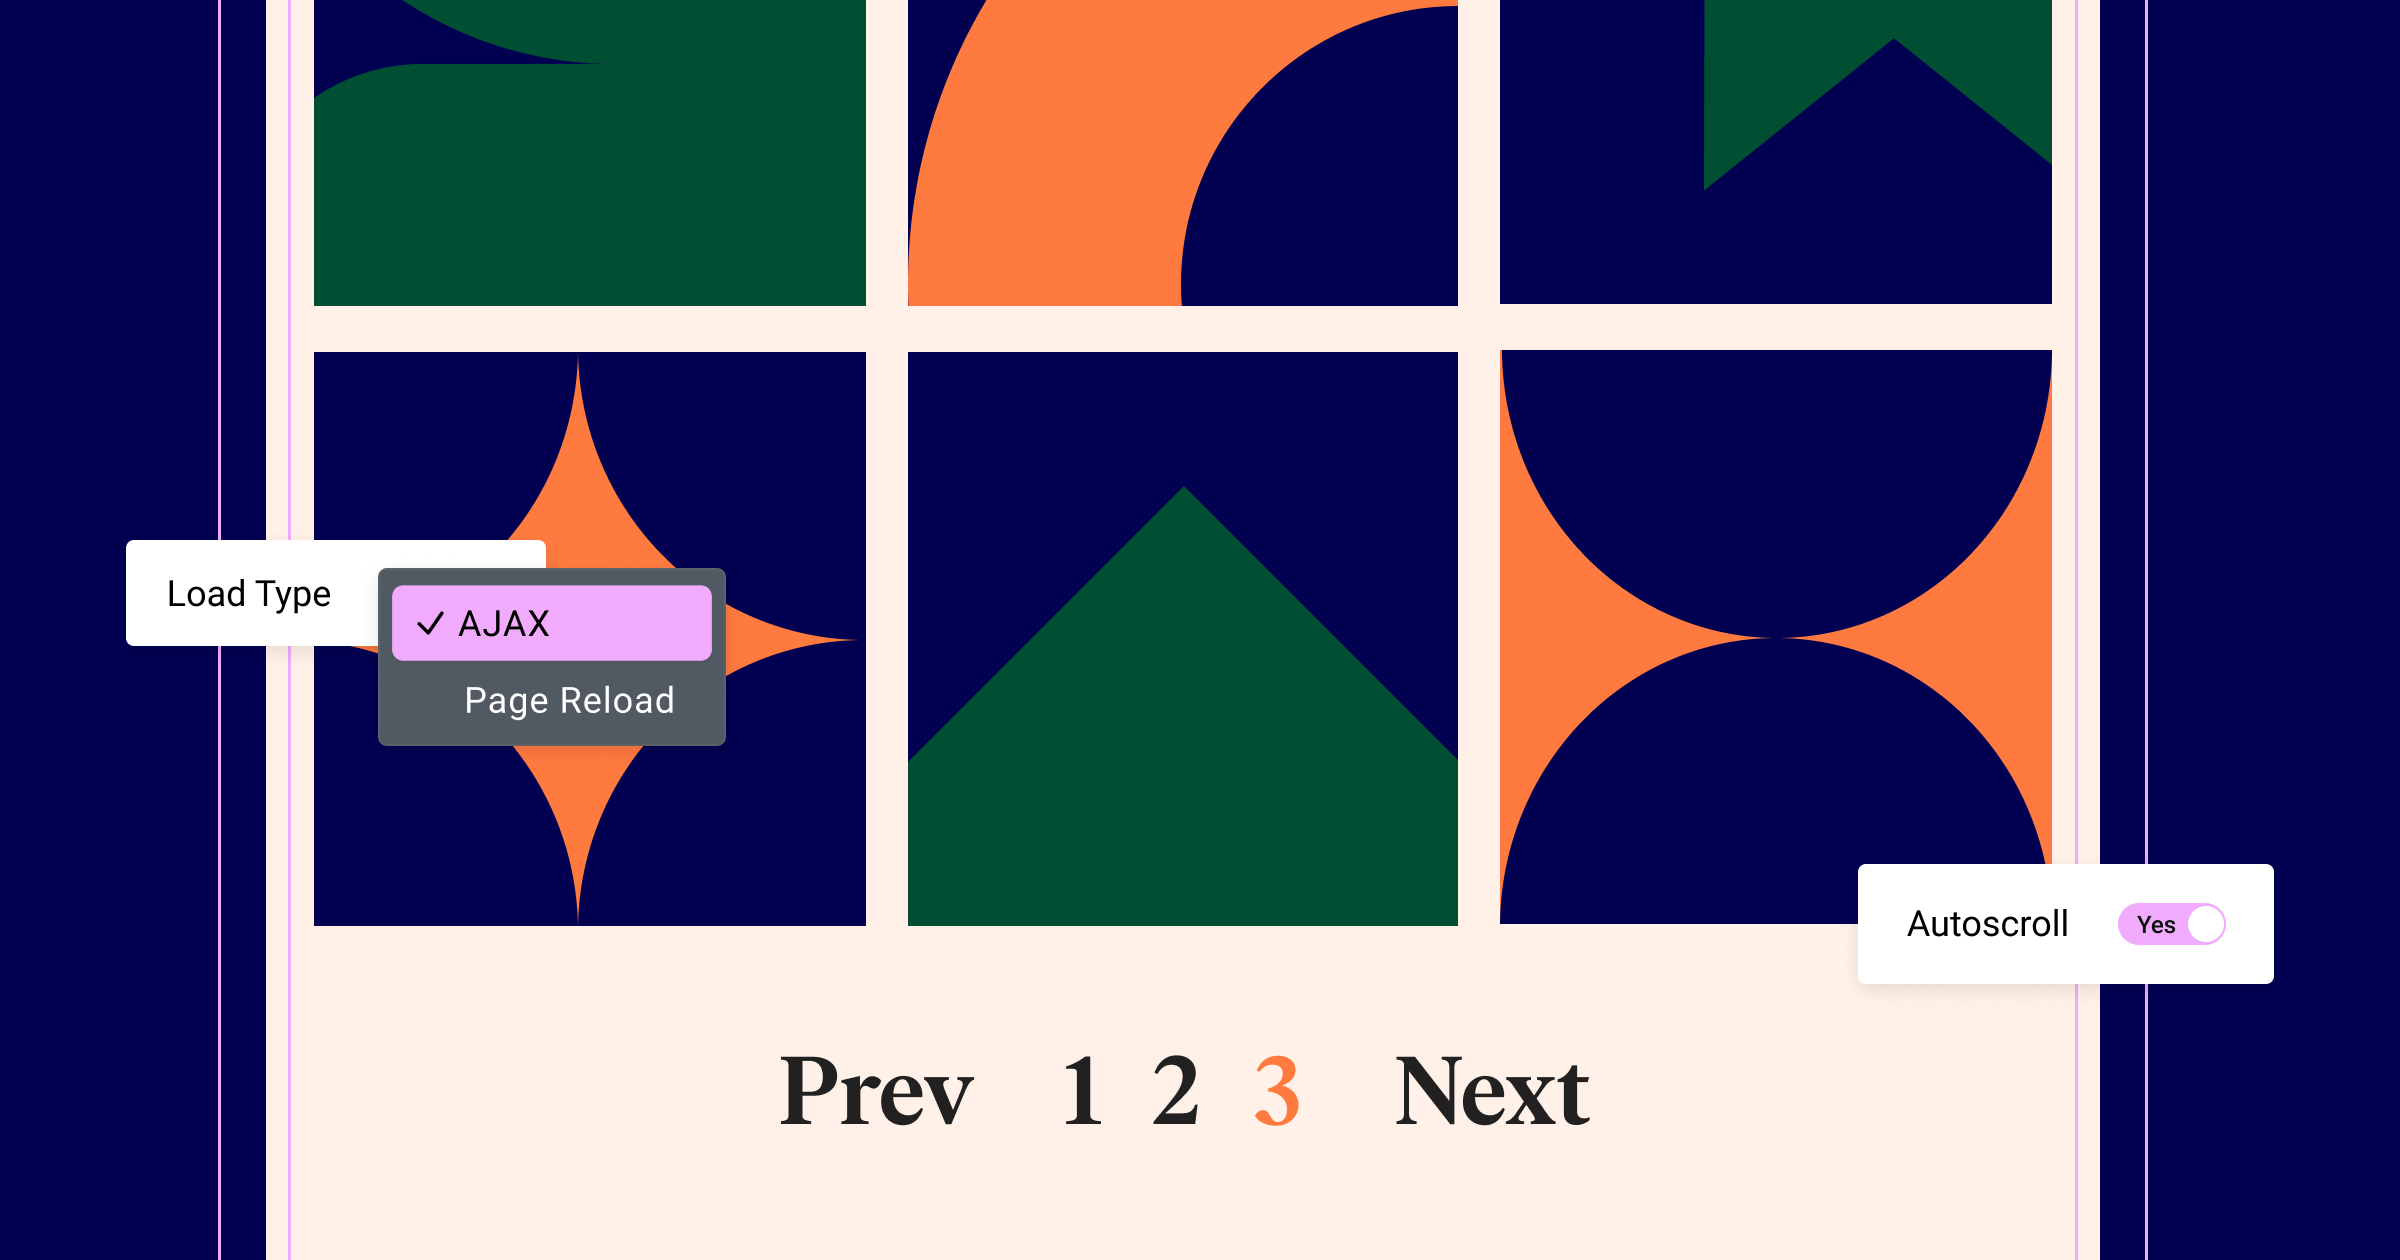
Visitors no longer need to reload the entire page when switching between the pages of your listing. Instead, clicking on the Loop Grid’s pagination element will only reload the Grid’s content. This creates a smoother experience for visitors. AJAX Pagination also gives each page of your listing its own URL parameter, so visitors can easily share links to listing pages.
As part of this feature, you can also enable the “Autoscroll” control. That way, when visitors change pages of your listing, the browser will automatically scroll to the top of the grid. If you are using a taxonomy filter and want to make sure it remains in view, you can input an offset value.
How to Test It:
- Ensure your website has at least 12 posts or products.
- Create a new page and edit it using Elementor.
- Drag the Loop Grid widget into the editor.
- Select or create a new Loop Item template.
- In the Pagination section, choose the “Numbers” option.
- From the “Load Type” dropdown, select the “AJAX” option.
- Publish the page and preview it on the front end.
- Try navigating between pages and confirm that the pagination operates without reloading the entire page, using AJAX functionality.
- Verify that everything functions as expected in the Editor and the front end.
Individual Pagination for Loop Grid and Post Widgets
In previous versions, changing the pagination of a listing would affect the content displayed on all other Loop Grid or Post Widgets on the same page. For example, selecting the third page of a listing would also load the third page of other listings if both were placed on the same page. However, with the Individual Pagination feature, visitors can now change the pagination of a listing without affecting other Loop Grids and Posts Widgets on the page.
To assign individual loading settings, ensure that you have enabled the “Individual Pagination” control under Content Tab > Pagination of each Loop Grid and Posts Widget on the page.
How to Test It:
- Ensure your website has at least six posts or products.
- Create a new page and edit it with Elementor.
- Add either the Loop Grid or Posts widget to the editor.
- Choose or create a new Loop Item template.
- Under the Pagination section, select the “Numbers” option.
- In the “Load Type” dropdown, use the “Page Reload” option.
- Enable the “Individual Pagination” option.
- Duplicate the Loop Grid widget and ensure the “Individual Pagination” option is enabled for the duplicate.
- Publish the page and preview it on the front end.
- Test navigating between pages and confirm that navigating within one Loop Grid does not affect the other, and vice versa.
- Verify that everything functions as expected in the Editor and front end.
[Elementor AI] AI History – Restore AI Generated Content
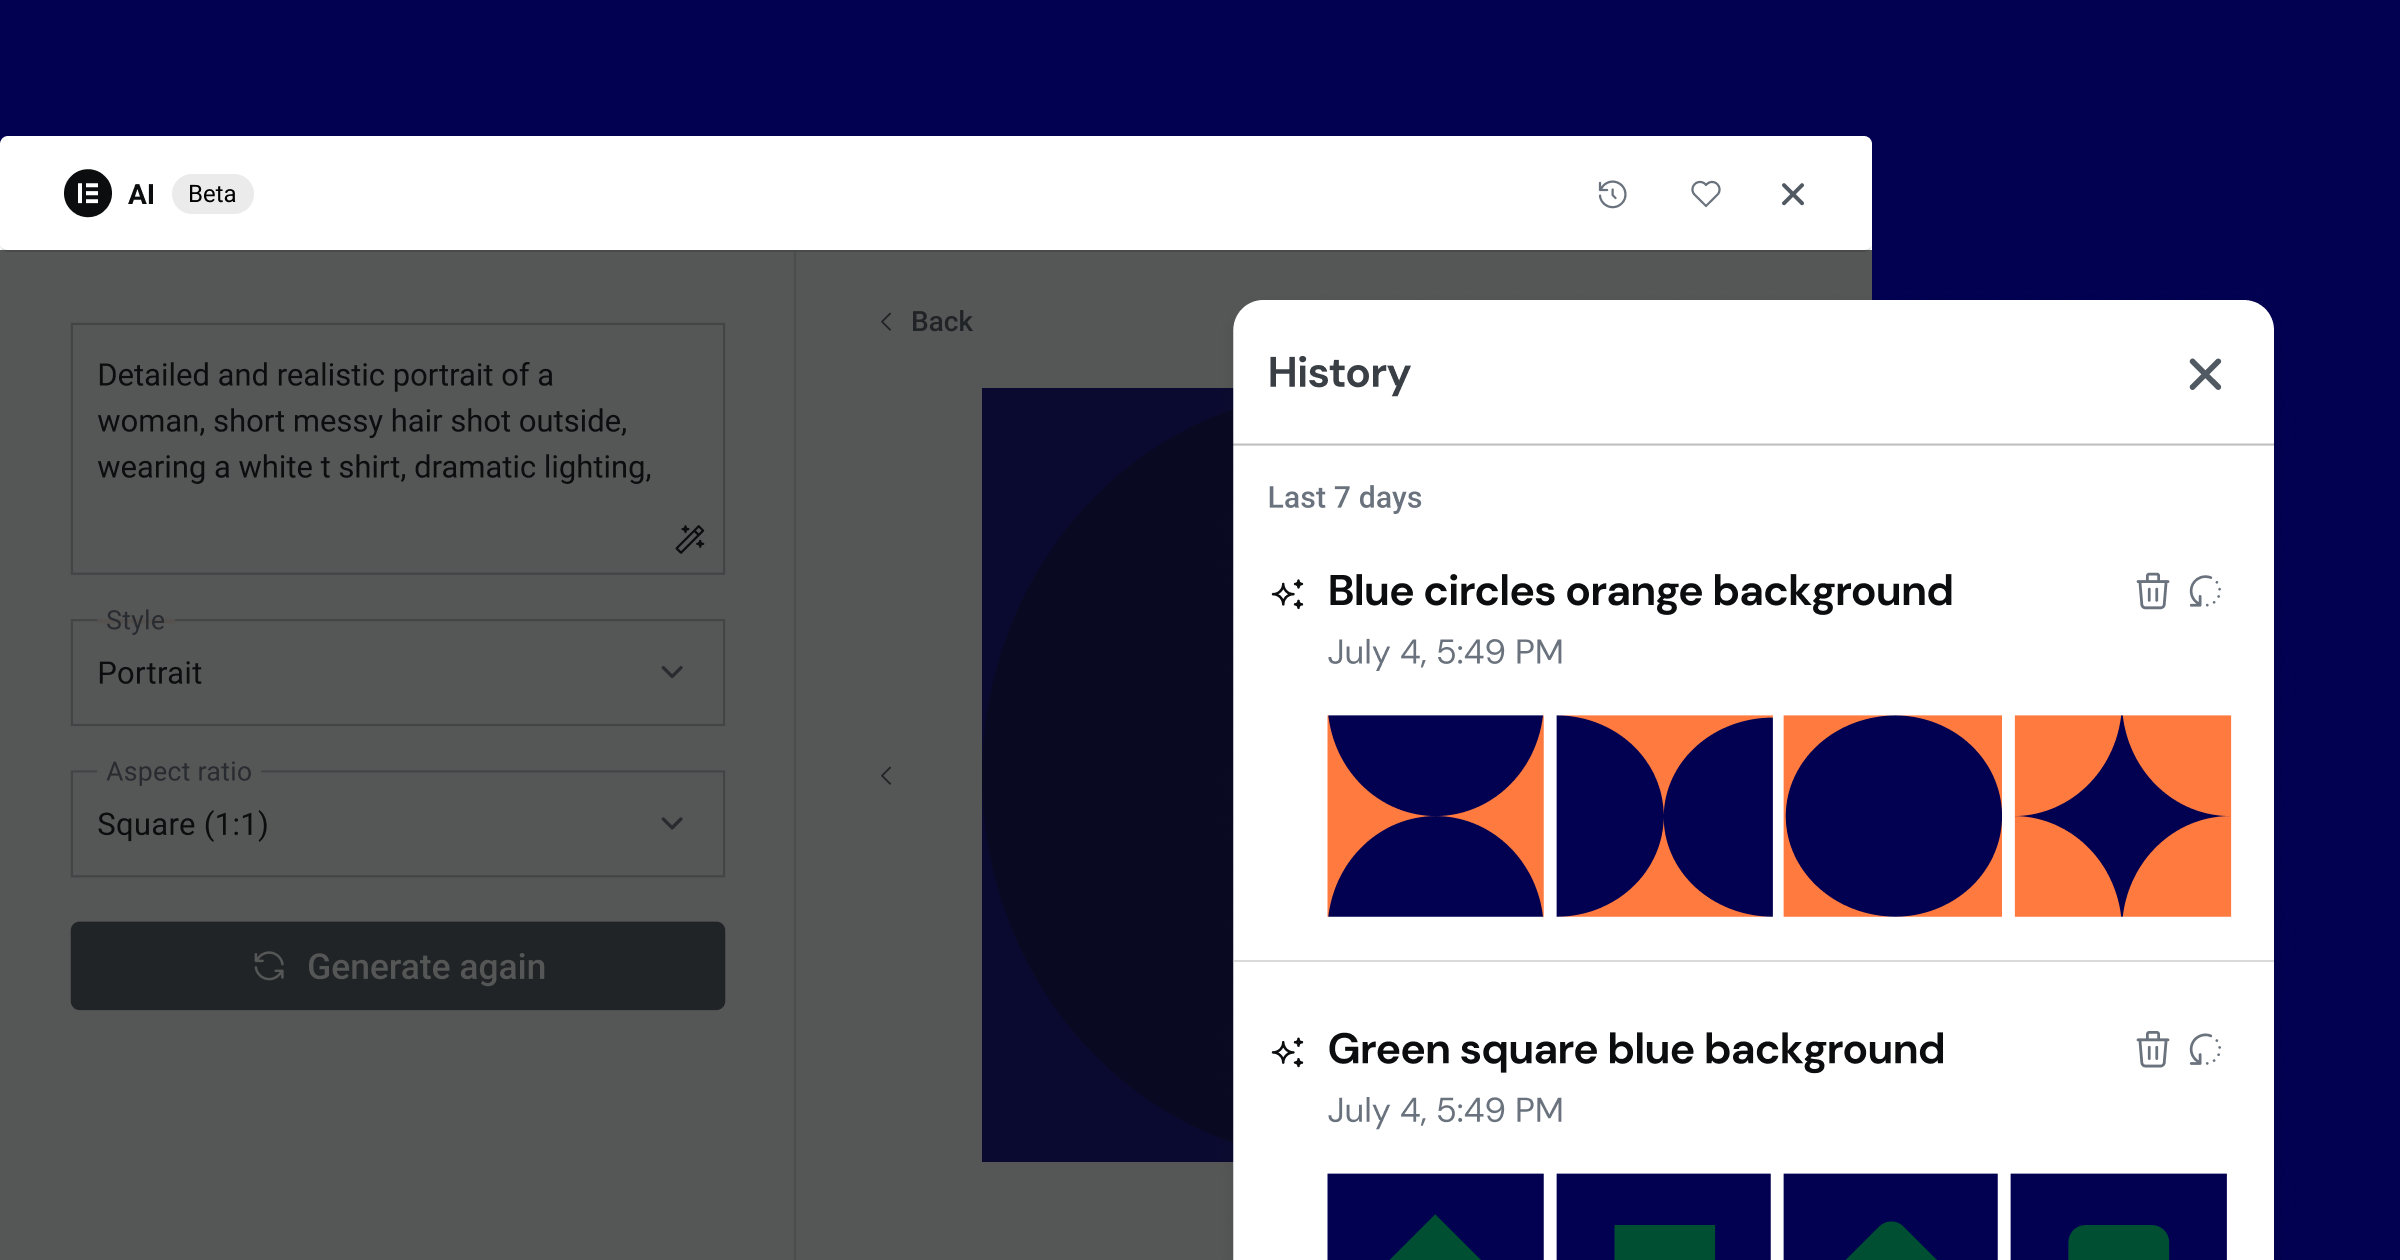
Elementor 3.17 enhances your workflow on Elementor AI with the AI History. This feature displays previously used prompts and the images or texts they generated. Restoring prompts and their generated content allows you to pick up where you left off. Continue editing the content with AI, use it on your site, or permanently delete them from AI History. While you will not be able to get previously generated code from the AI History, since the code is generated for specific widgets, you can access prompts used to generate them to regenerate new code from your historical prompts.
With the AI Starter plan, you can view and restore content generated up to 30 days ago, and with the AI Power plan, you’ll be able to access content generated up to 90 days ago.
Performance Improvements for Faster LCP
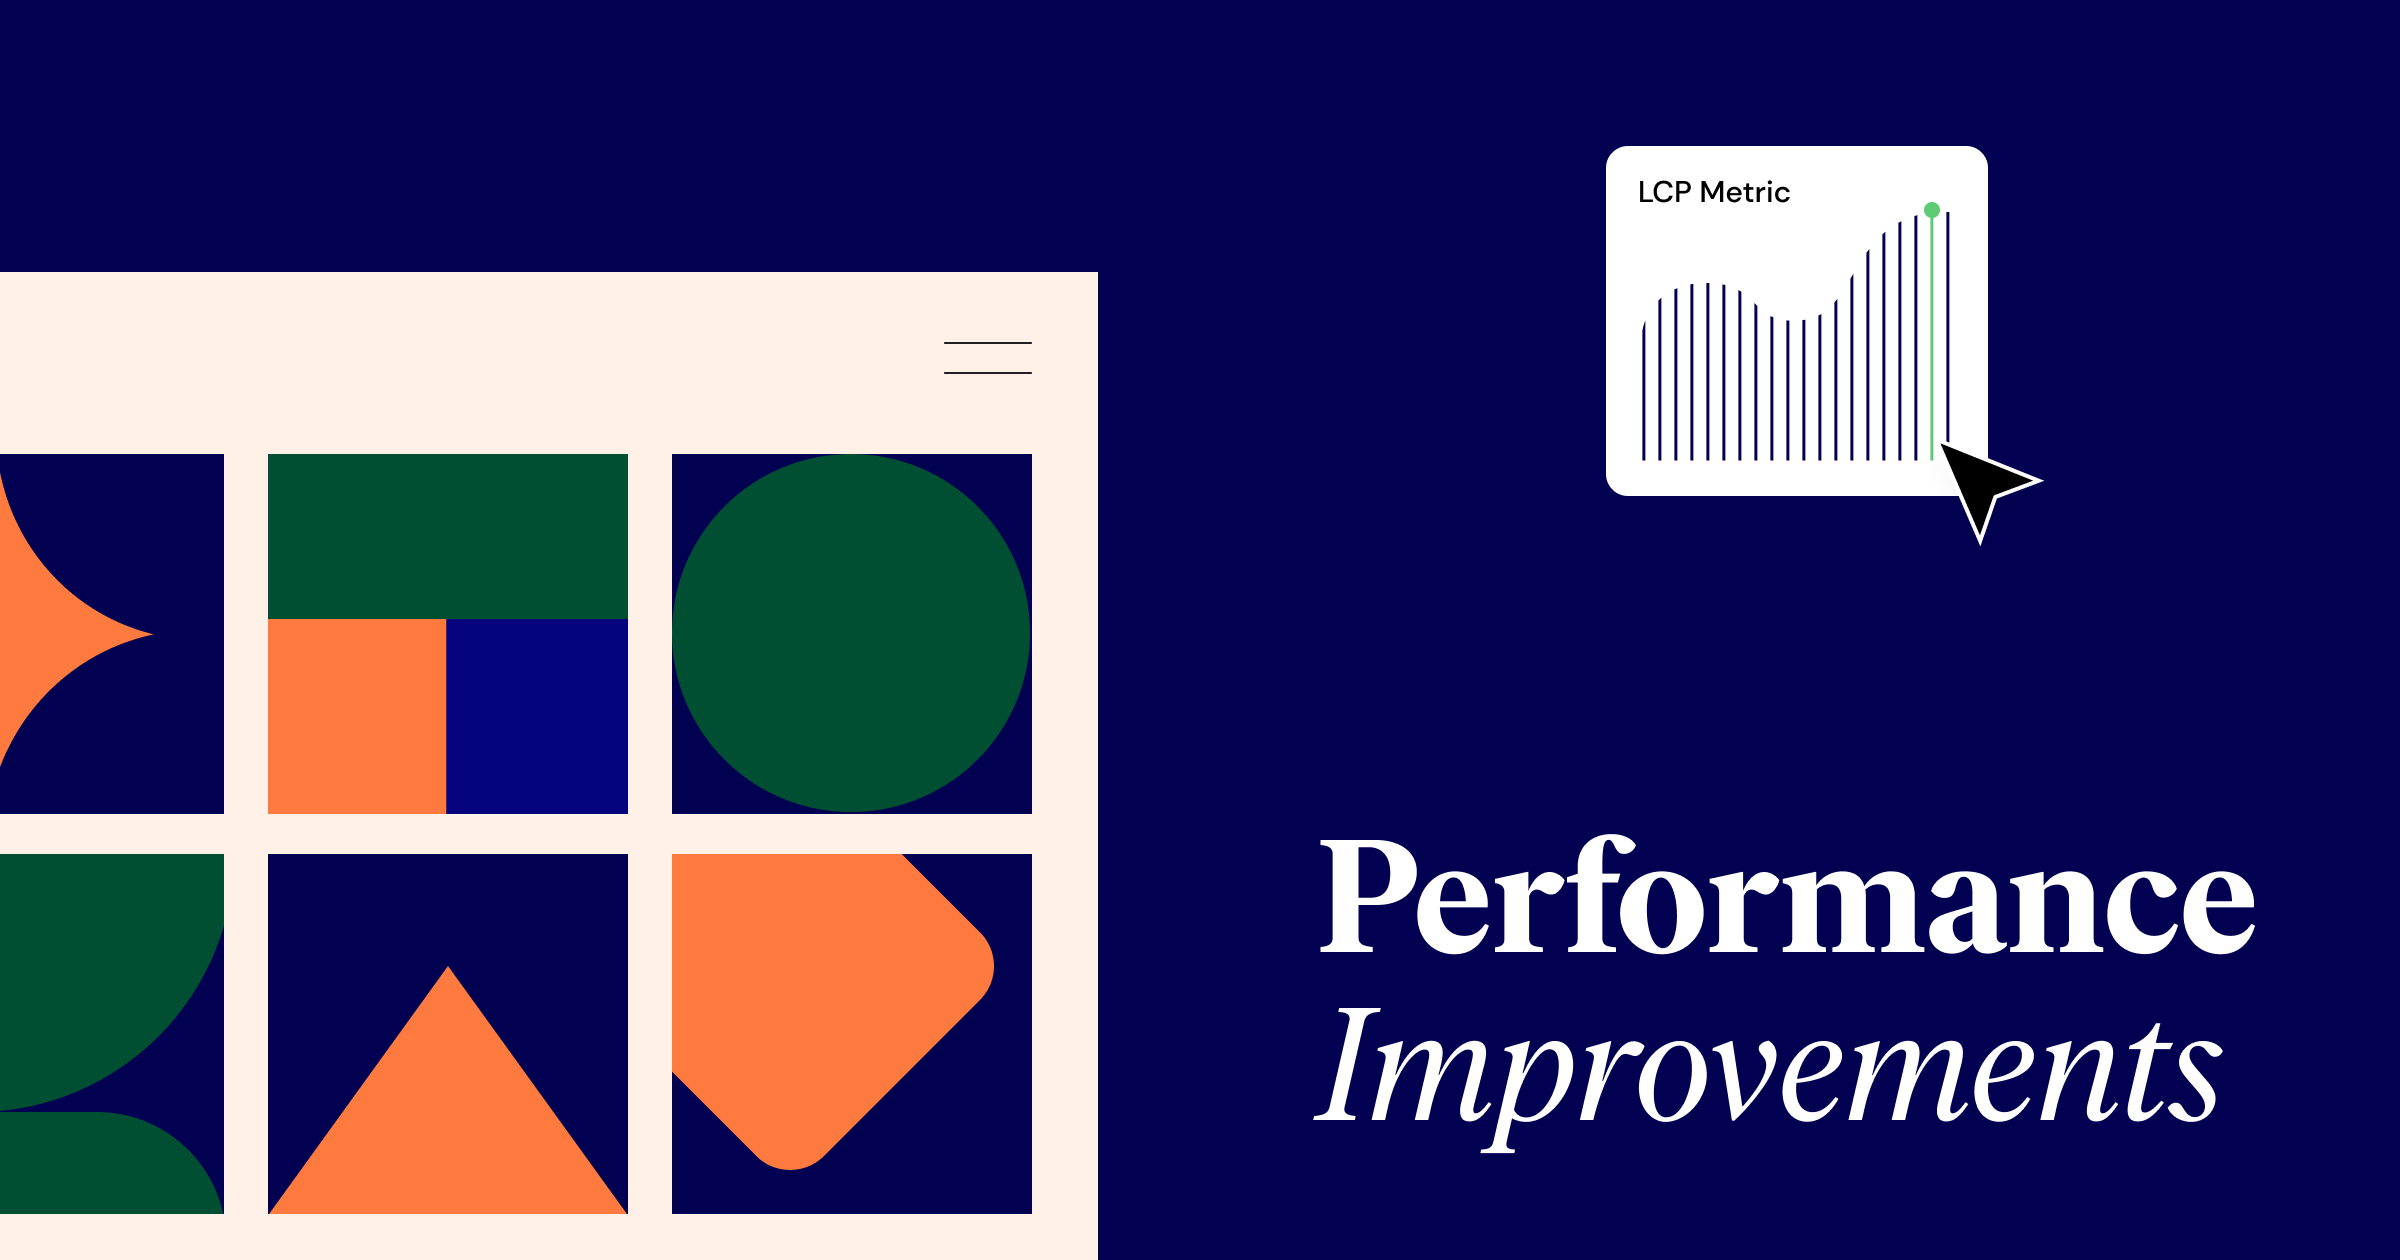
Elementor 3.17 makes your site even faster with two features that will turbocharge your website’s loading time.
Optimize Image Loading
Elementor has partnered with Chrome to identify opportunities for improving the performance of websites built with Elementor. This collaboration involves utilizing Google tools such as the Chrome User Experience Report and Core Web Vitals Technology Report. One of the results of this collaboration is Google’s decision to contribute the “Optimize image loading” features to Elementor’s core plugin as part of their ongoing commitment of making the web better performing.
This experiment improves frontend speed by prioritizing image loading based on the placement of the images on the page. It detects which image is most likely to be the “LCP image”, which refers to the largest contentful paint element in the viewport, and prioritizes its load by using priority hints.
Additionally, the experiment applies lazy-loading to images that are not initially displayed in the viewport and loads them when they come into view. These changes improve LCP by 5-10% depending on the complexity of the page. Optimize Image Loading also works with Elementor websites running on older versions of WordPress that don’t include LCP detection updates.
Activate the “Optimize Image Loading” features by going to the Elementor menu in WordPress → Elementor → Settings → Features.
Gutenberg Asset Loading
Optimize your site’s frontend speed by excluding Guttenberg styles and scripts when not in use. This experiment will improve your site’s LCP (Largest Contentful Paint) Core Web Vital metric by detecting when Guttenberg wasn’t used to create a page or generate its content. This allows Elementor to avoid loading unnecessary code.
Activate the “Gutenberg Asset Loading” experiment by going to the Elementor menu in WordPress → Elementor → Settings → Features.
New Rating Widget For Design Flexibility
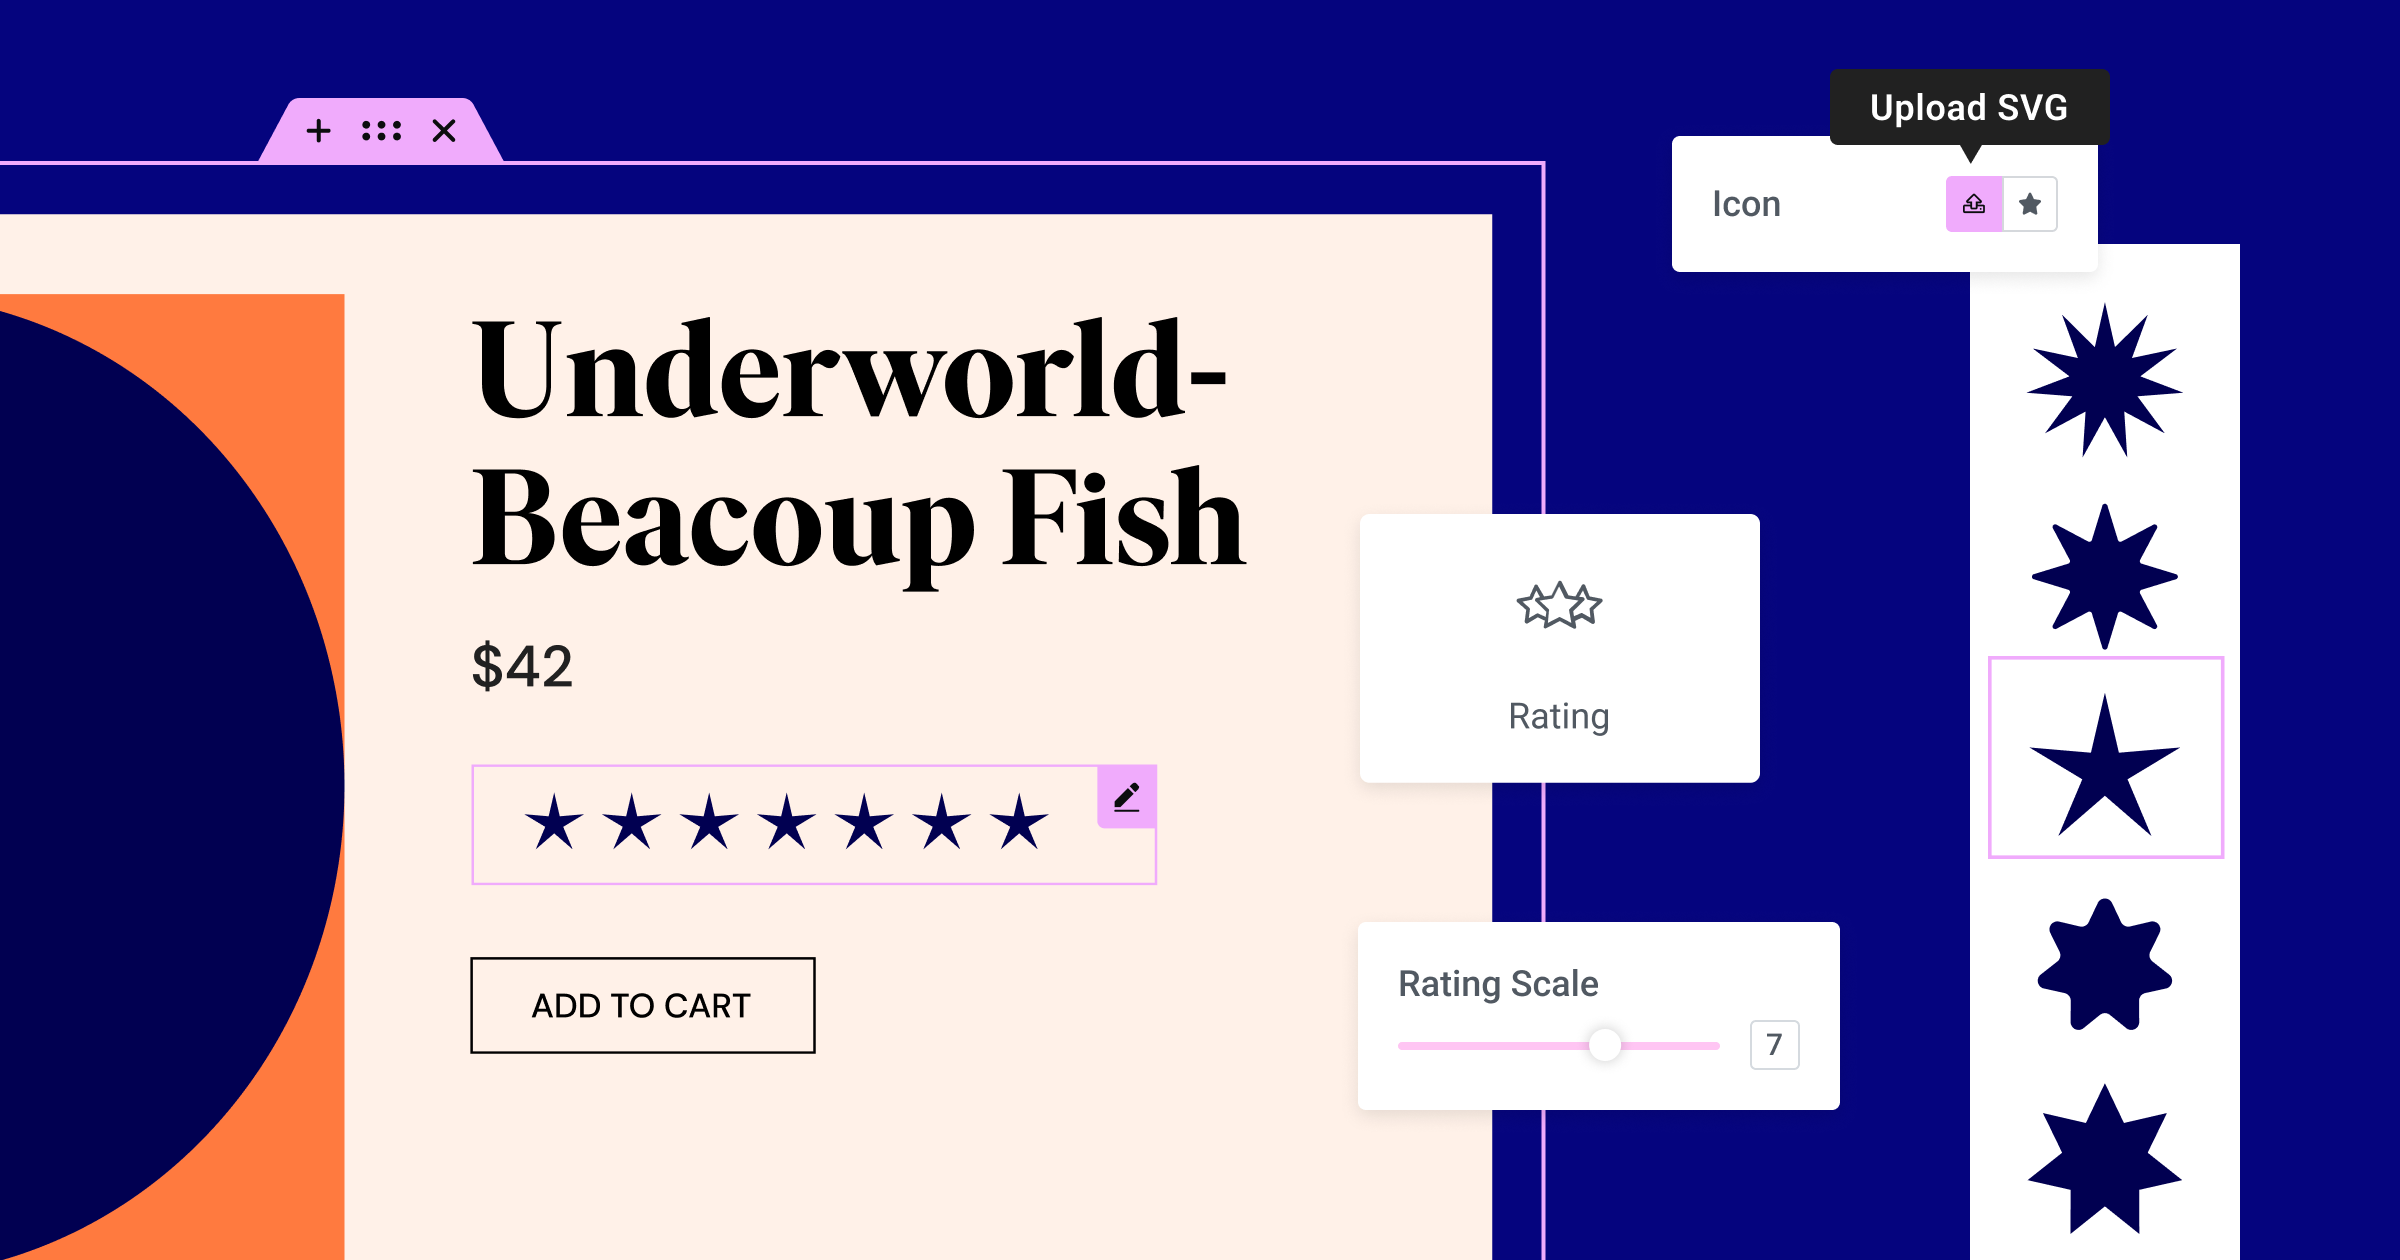
This version includes the new Rating Widget, which gives you more flexibility to customize your visual rating scales for products, content, and more. To visually represent your rating, you can choose between Font Awesome icons or upload your own SVG.
The Rating Widget expands the options of rating scales that were previously available in the Star Rating Widget. Instead of choosing between a rating scale of 0-5 or 0-10, you can set a rating scale from zero to any number that fits your needs. Additionally, the Rating Scale dropdown has been replaced with a range.
The Rating Widget also enhances your site’s SEO ranking with an improved schema attribute. The Rating Widget replaces the Star Rating Widget in the Widget Panel. However, any Star Ratings already placed on your site will not be affected.
How to Test It:
- Create a new page and edit it using Elementor.
- Ensure that any existing Star Rating widgets within the page are editable and that you can customize them.
- Drag the Rating widget into the editor.
- Adjust the Rating Scale and Rating controls, ensuring the rating works as expected.
- Experiment with the Icon control, where you can choose from the Font Awesome library or SVG icons.
- Head over to the Style tab and adjust the icon’s Size, Spacing, and Colors.
- Publish the page and preview it on the front end.
- Verify that everything functions as expected in the Editor and front end.
Accordion Improvement – Make Your FAQ Frequently Found
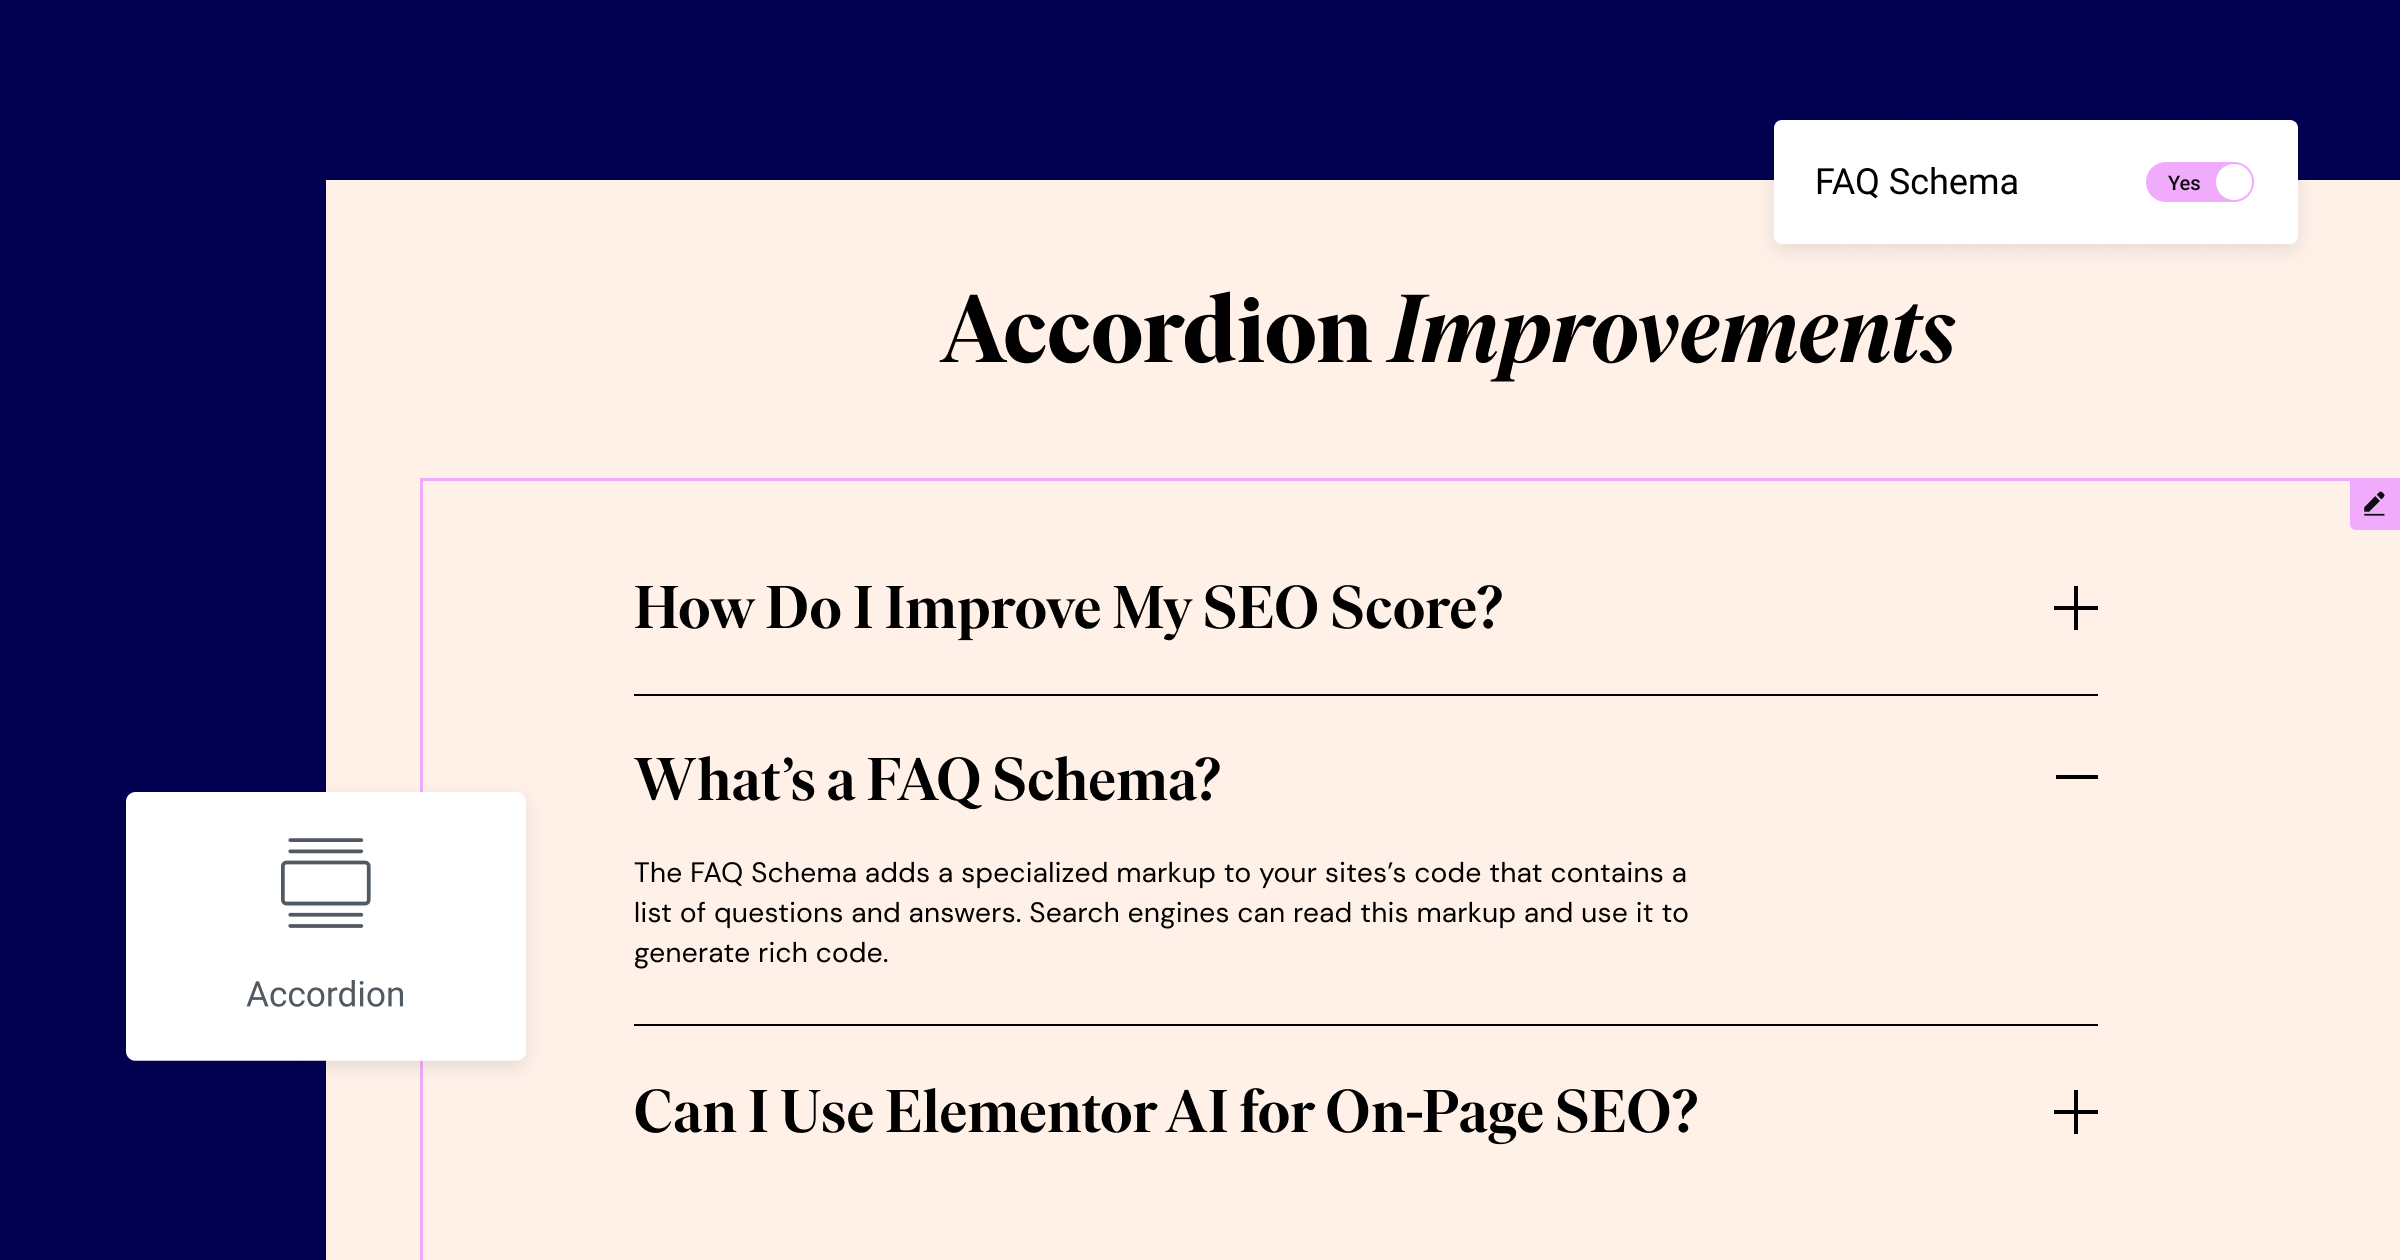
The Accordion Widget, with its nested capabilities, allows you to place Widgets inside Accordion items, giving you unlimited layout options. In version 3.17, the Accordion Widget also improves the SEO compatibility of your content by adding a FAQ Schema control.
The FAQ Schema adds a specialized markup to your page’s code that contains a list of questions and answers. Search engines can read this markup and use it to generate rich code.
Accessibility Enhancements
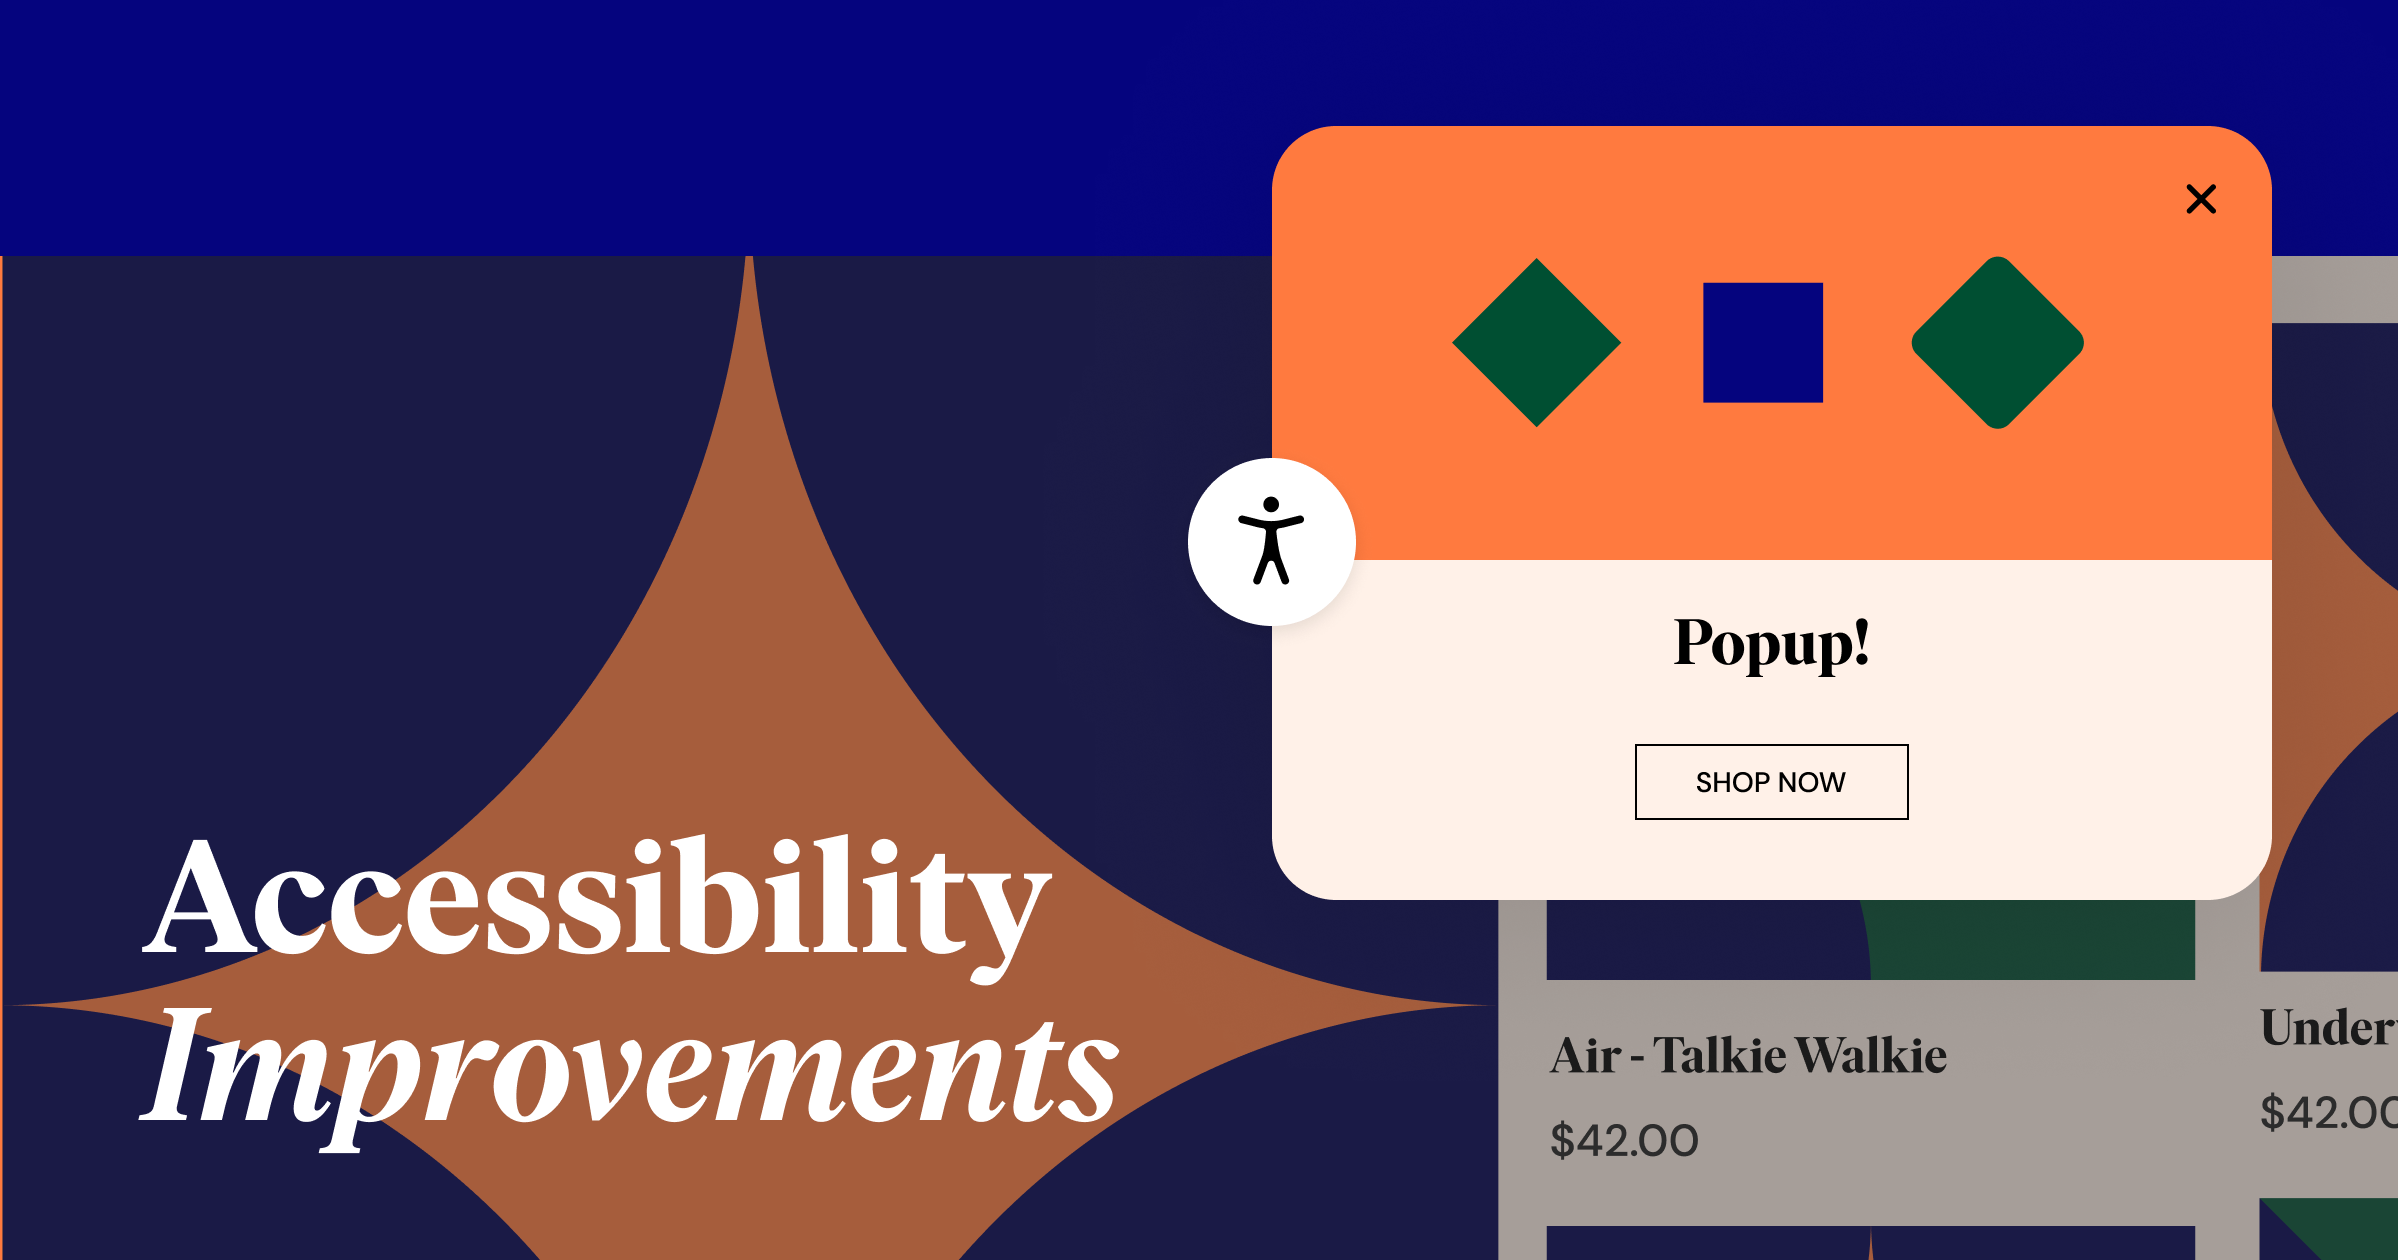
- Popups: Improve focus management when enabling the Accessible Navigation option, by focusing initially on the popup close button instead of other focusable elements inside popups.
- Table of Contents: Indicate that the minimize/maximize button in the Table of Contents widget is an interactive element for visitors using assistive technologies.
- Nested Accordion: Accordion layouts are now accessible to visitors using keyboard navigation.
Additional Updates
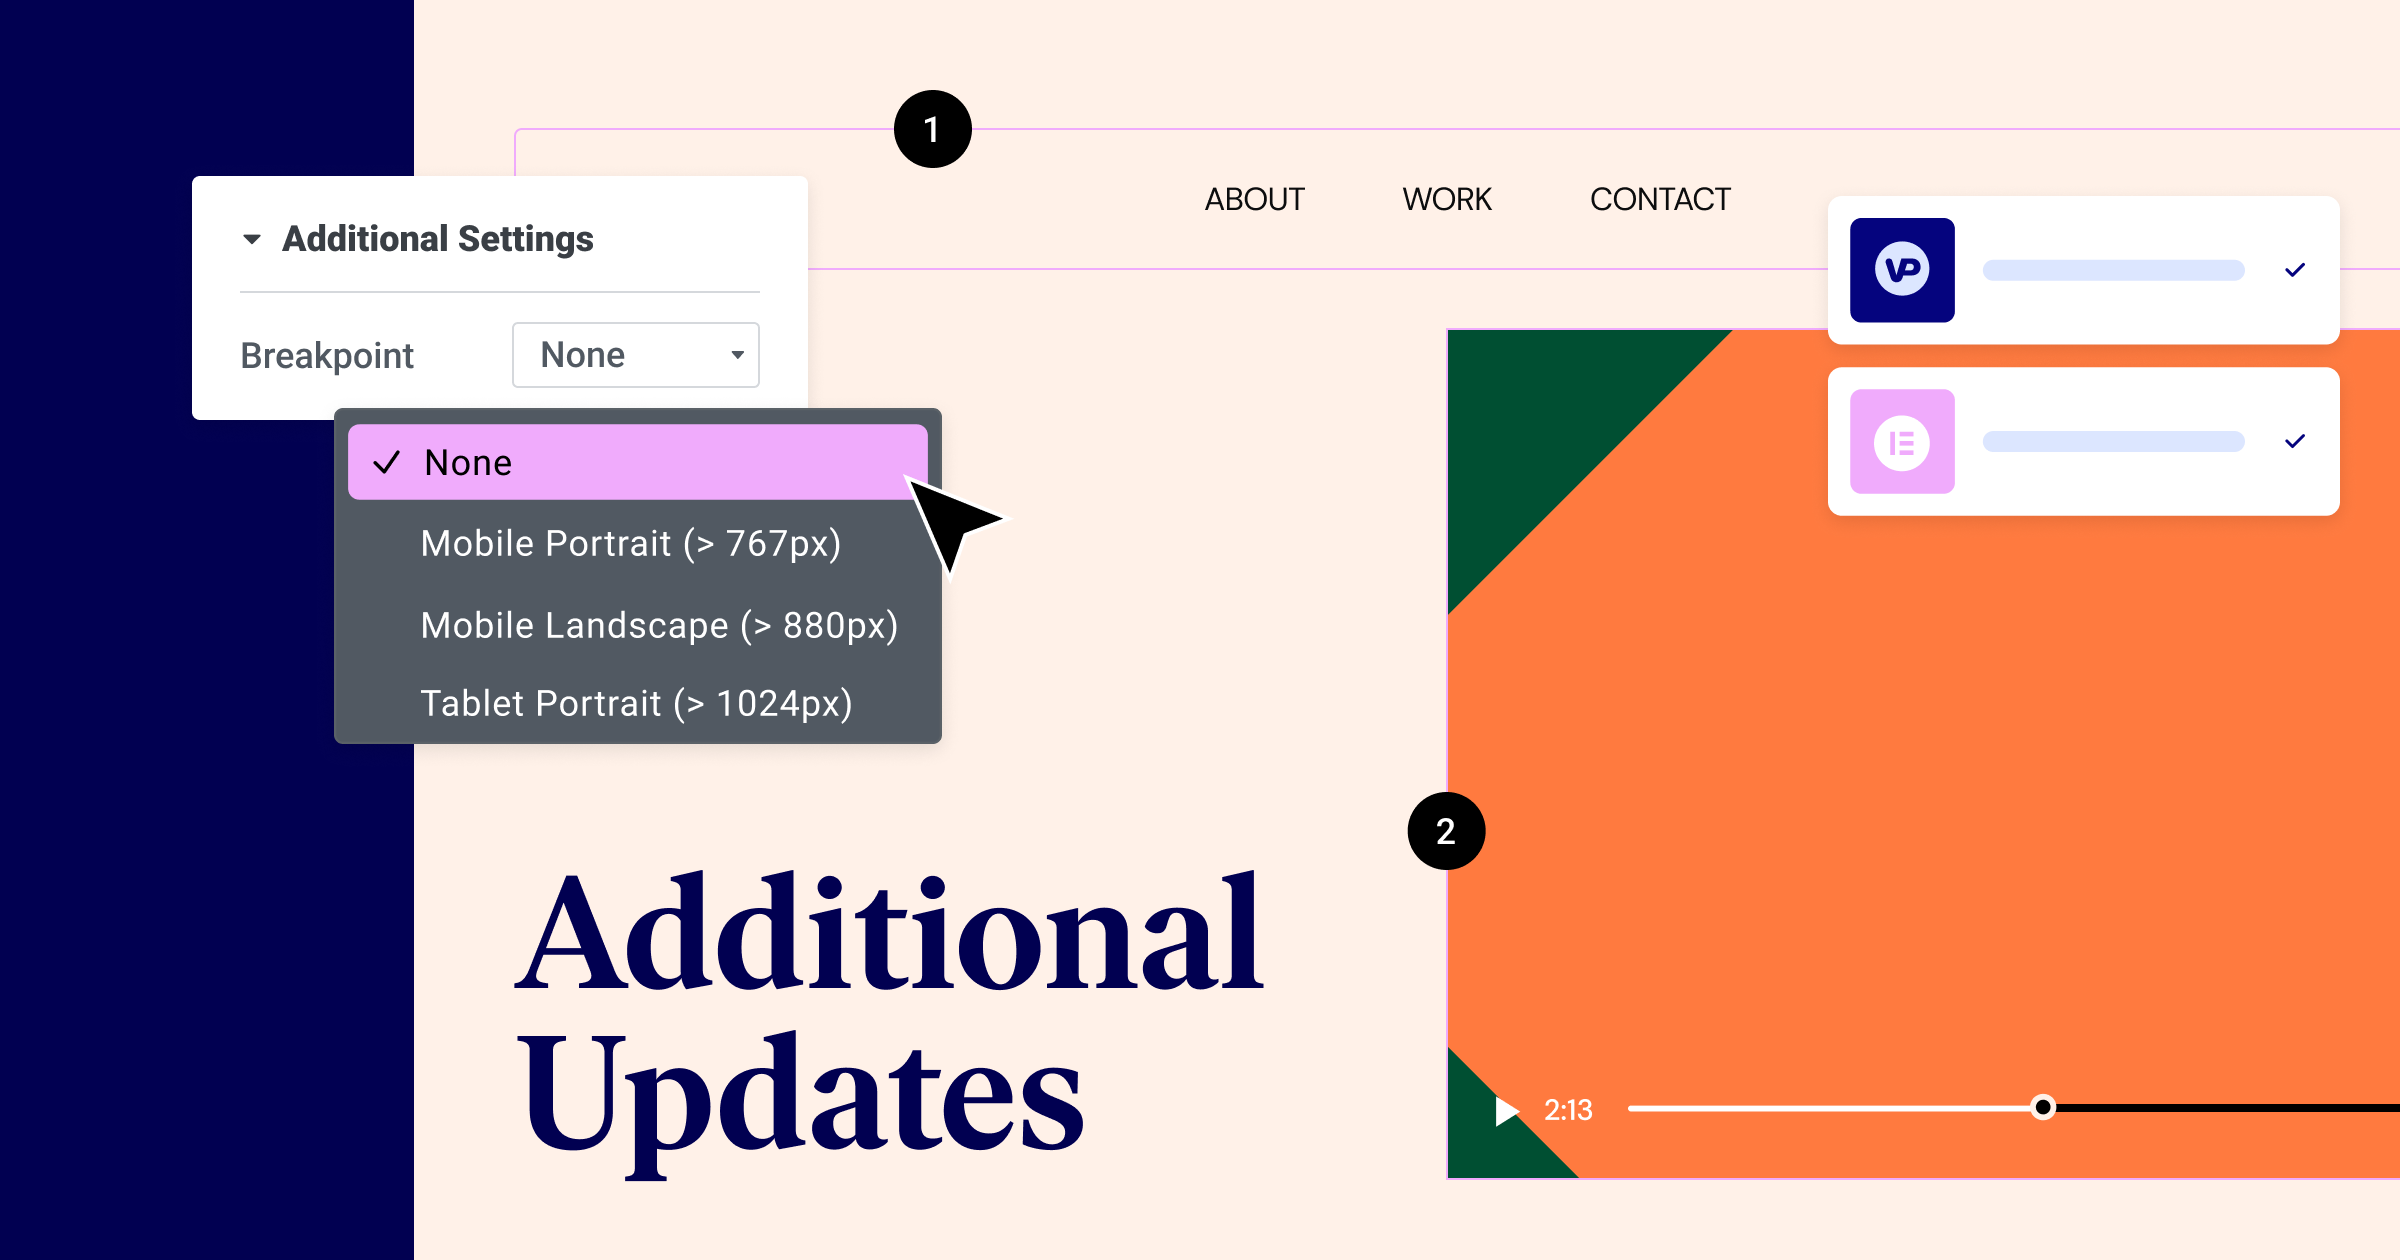
- Menu widget Enhancements: Prevent menus from transforming into a dropdown layout, select the “None” option from the list of breakpoints. If the menu is wider than the viewport, you can enable horizontal scrolling to maintain its original inline design. This will allow visitors to scroll horizontally and prevent the menu from breaking into two lines.
- VideoPress Integration: Seamlessly integrate VideoPress into your Elementor site. Enjoy all the features VideoPress offers, such as self hosted videos, transcoded video file for playback on many device types, adaptive streaming based on device screen size and available bandwidth, the ability to authenticate private videos, and more.
Responsive Template Designs
This version has improved your ability to correctly display changes made to responsive designs of templates with additional breakpoints. You will no longer need to regenerate CSS to see changes you made to templates when editing in the theme builder. Changes will be reflected in your website’s editor and frontend.
How to Test It:
Important: This test is focused on responsive breakpoints and templates. Please refrain from using the “Regenerate CSS” option during testing, and ensure that everything works without it.
- Activate the “Additional Custom Breakpoints” feature, enabling all seven breakpoints.
- Create a new page and insert a Loop Grid widget into it.
- In the Theme Builder, create a Loop Item Template. Important: Instead of using in-place editing, open the template in a new tab.
- Insert a Template widget onto the page and select a container template created previously.
- Make sure you have both a Header and Footer on this page.
- Open all templates in new tabs: Header, Footer, Loop Item, and Container Template.
Edit these templates, adjusting settings and values for Desktop and Mobile devices separately. - Save all the templates after making your adjustments.
- After saving, check the Page, refresh it, and verify that all the settings you applied to the templates for different devices are correctly applied to the templates within the page.
- Check these templates on the front end to ensure all values are displayed as expected.
- For an additional scenario, edit your Single Post template and, after saving, check the templates within the initial page to ensure all values are presented as intended.
- Verify that everything functions as expected in the Editor and front end.
Make An Impact: Share Feedback Before Features Are Released
We’re always looking to get to know Elementor customers on a deeper level. If you’re interested in meeting with our team and sharing your insights, feedback, and feature requests you’re welcome to sign up for some quality time with us here. Talk soon!
How to Install the Beta Version
If you still haven’t enabled beta testing in Elementor, please follow these steps:
- Go to Elementor > Tools > Versions
- Enable the beta tester feature
- Go to Dashboard > Updates and update to the latest beta version.
- This will get you set up to test the new Elementor 3.17 Beta.
Notes
As we make changes to our GitHub in an effort to keep it organized, improve the way we deliver information to you, and our ability to review your feedback, please follow the instructions below when reporting bugs, or making feature requests:
- To report a bug related to this beta version – open a new Bug report
- For feature requests – open a new Feature request issue
- For other comments specifically about this beta version – comment here
Designated time for release: October 24 (Estimated)
Many thanks for your support and help!
Cheers,
Elementor Team
